
Blog by Steve Laug
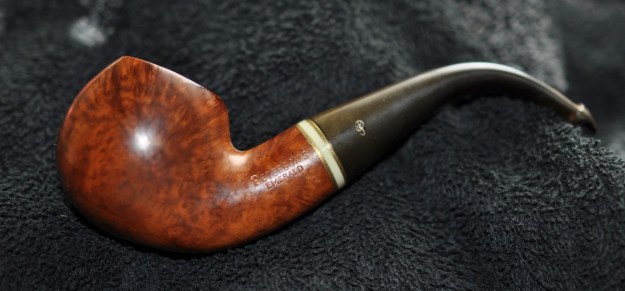
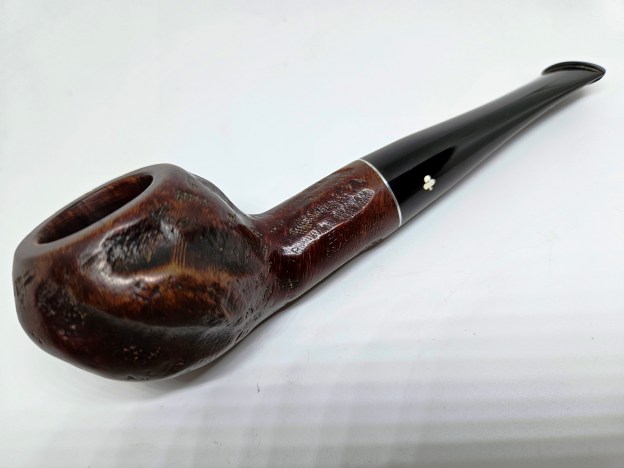
The next pipe that I am working on came from an estate sale in Oregon City, Oregon, USA we purchased on 03/21/24. It was very dirty and was a reddish, brown coloured pipe when it started. The rusticated finish around the bowl was dirty and had hand oils ground into the rusticated finish. The bowl had a moderate cake and a thick coat of lava onto the bevelled inner edge of the rim top. The classic p-lip stem was very dirty and had light tooth marks and chatter on both sides ahead of the button. There was a silver inset P logo on the left side of the stem. The fit of the stem to the shank is perfect. The pipe is stamped on the left underside of the shank and read Peterson’s [over] Sherlock Holmes. That is followed by Made in the Republic of Ireland (in three lines). There is a Sterling Silver band on the shank end that is stamped on the topside with the Sherlock Holmes Series Logo – the outline bust of Sherlock with Peterson ‘s arched above and Sterling Silver arched below. Below that it bears three hallmarks in the silver band – Hibernia seated for Ireland, a crowned harp designating the .925 quality and finally the date mark which in this case is an italic F dating the pipe as made in 1991. The stamped band has turned partway to the top of the shank rather than the left side. It is clean but oxidized. Jeff took photos of the pipe so I could have a sense of what it looked like before he started his work on it.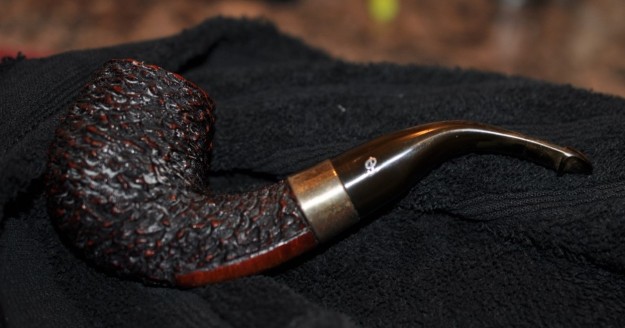
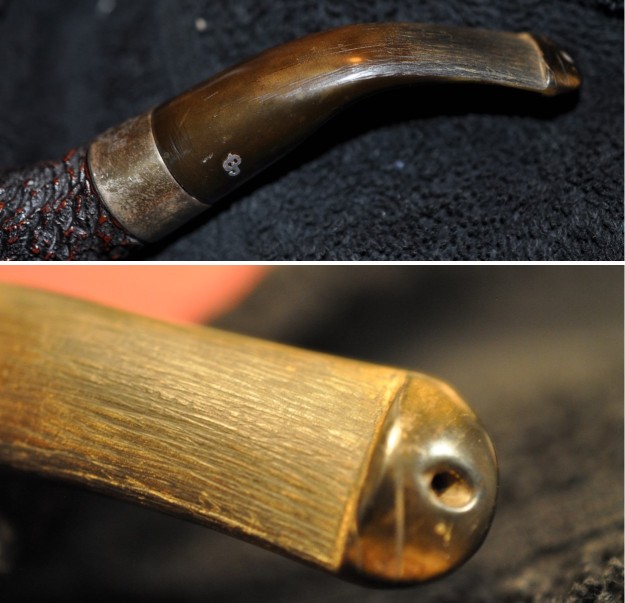
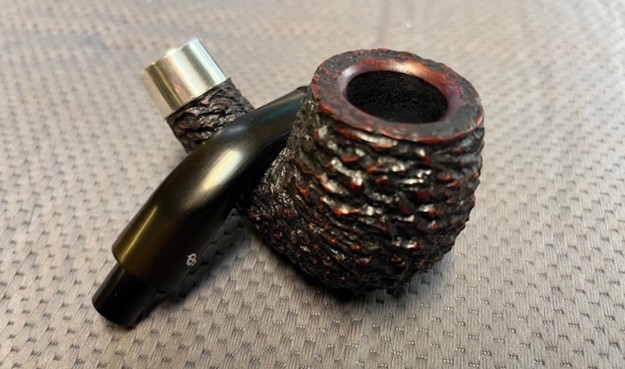
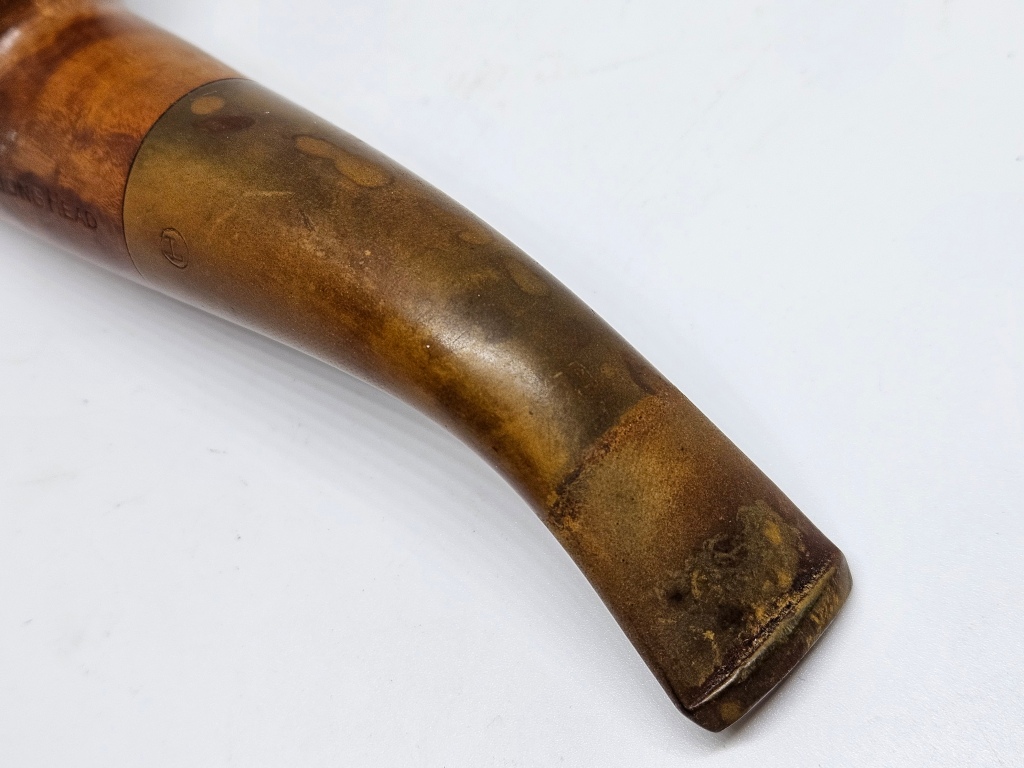
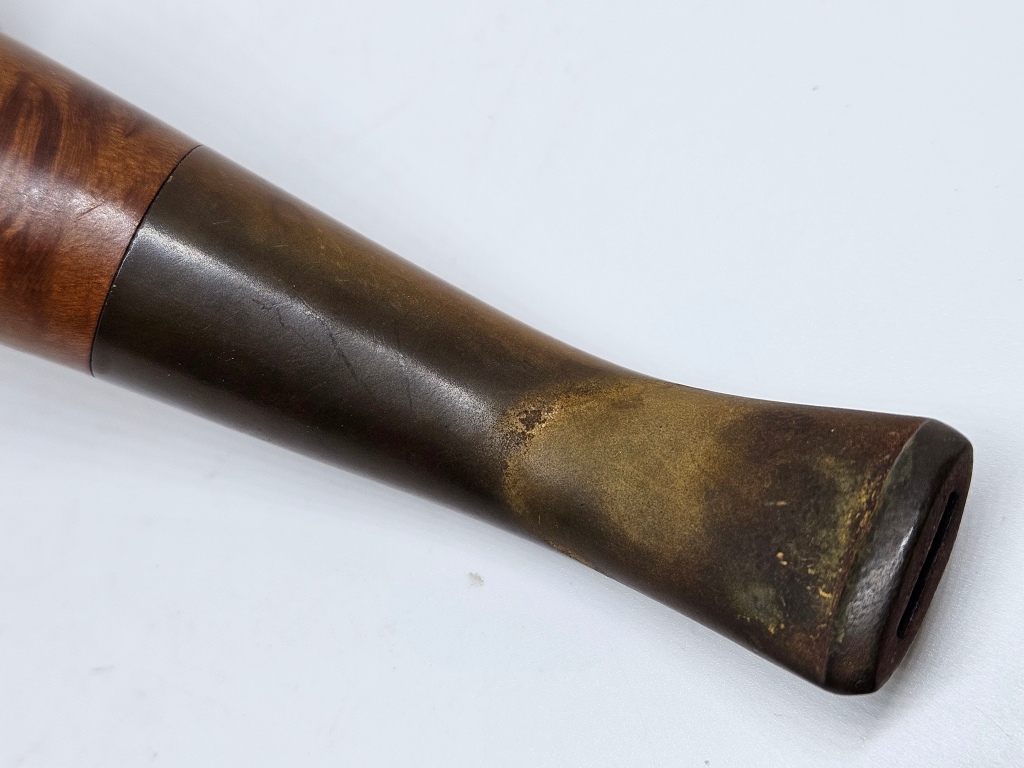
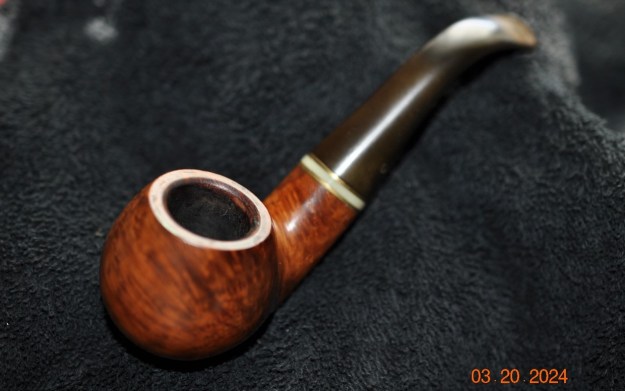
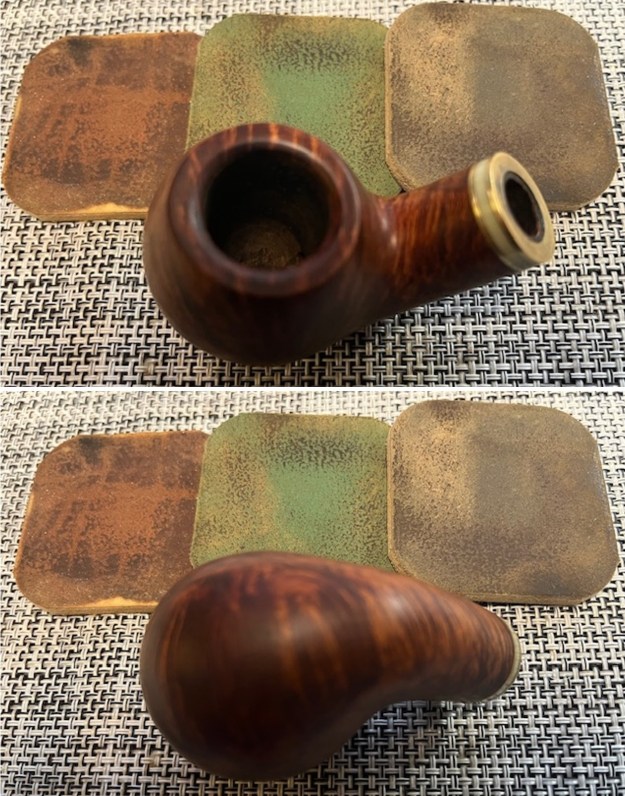
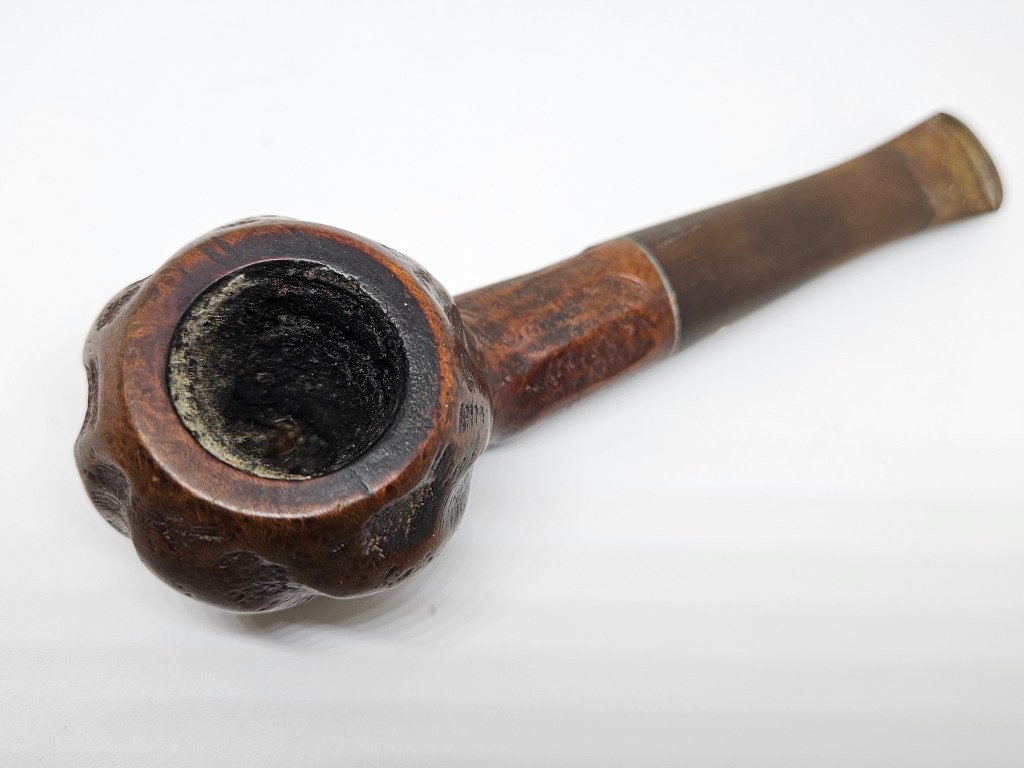
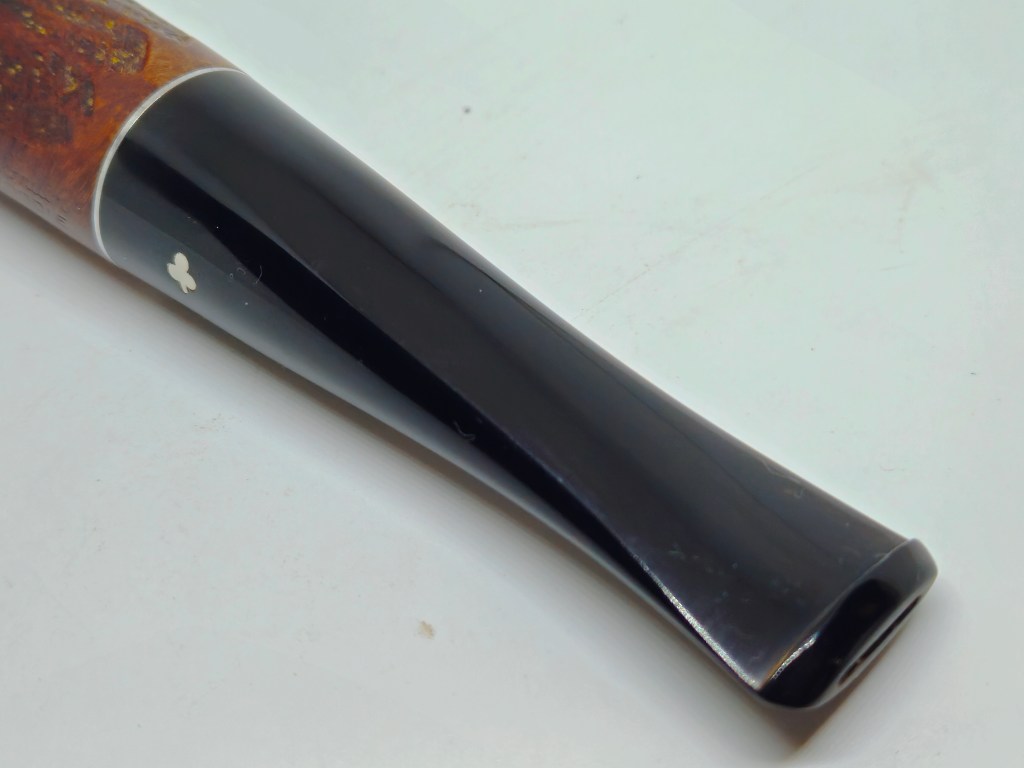
 Jeff took photos of the bowl and rim top to show the cake in the bowl with remnants of tobacco stuck on the walls of the bowl. There was a lava build up on the rusticated top of the rim and the bevelled edge of the bowl. The rim top looked pretty good but it was hard to know for sure if there was damage under the thick lava. Only clean up would tell the full story. Jeff took photos of the top and underside of the p-lip stem showing the tooth chatter, scratching and oxidation on the stem surface and wear on the edges of the button.
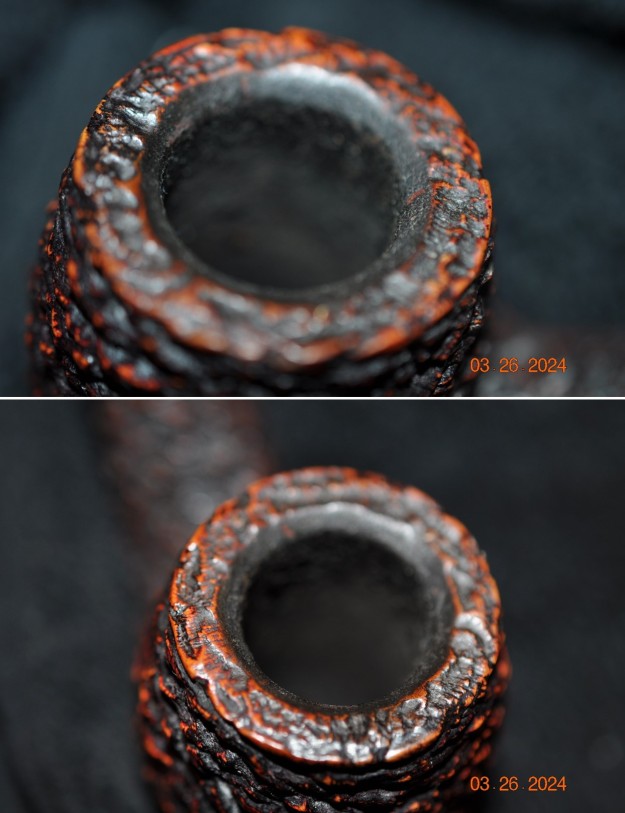
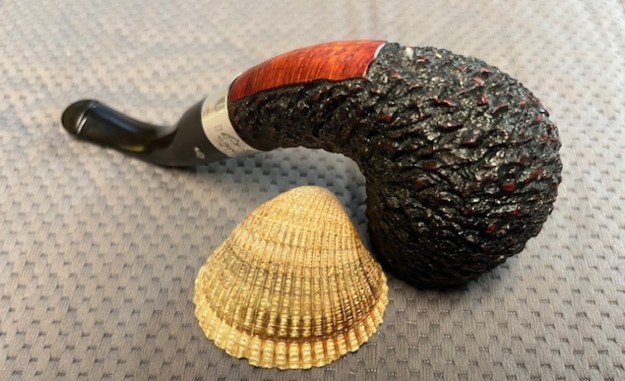
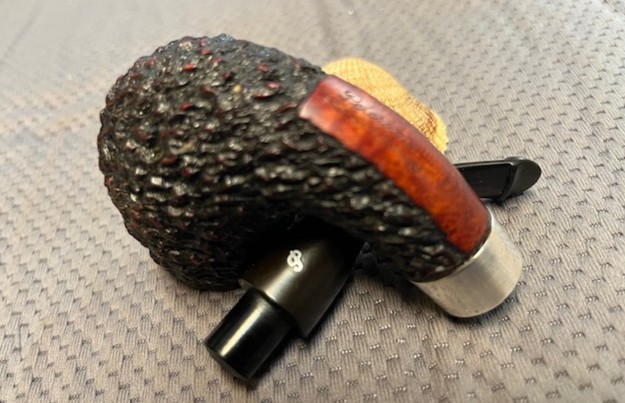
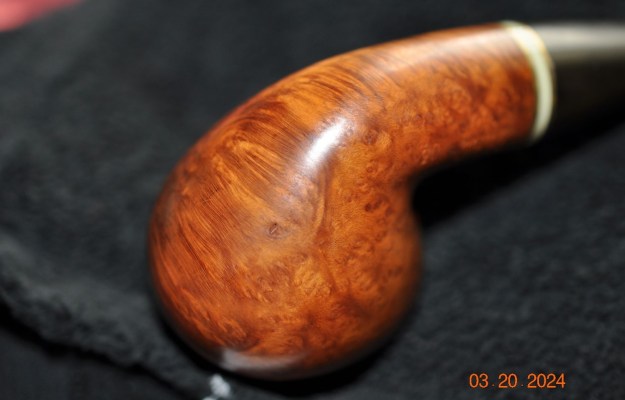
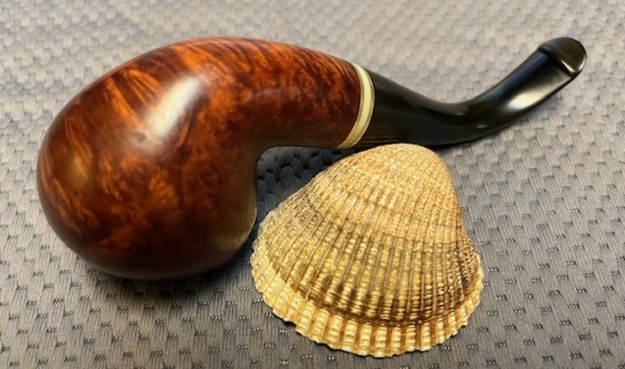
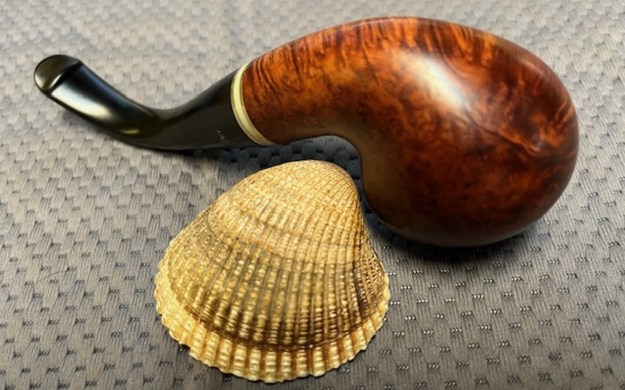
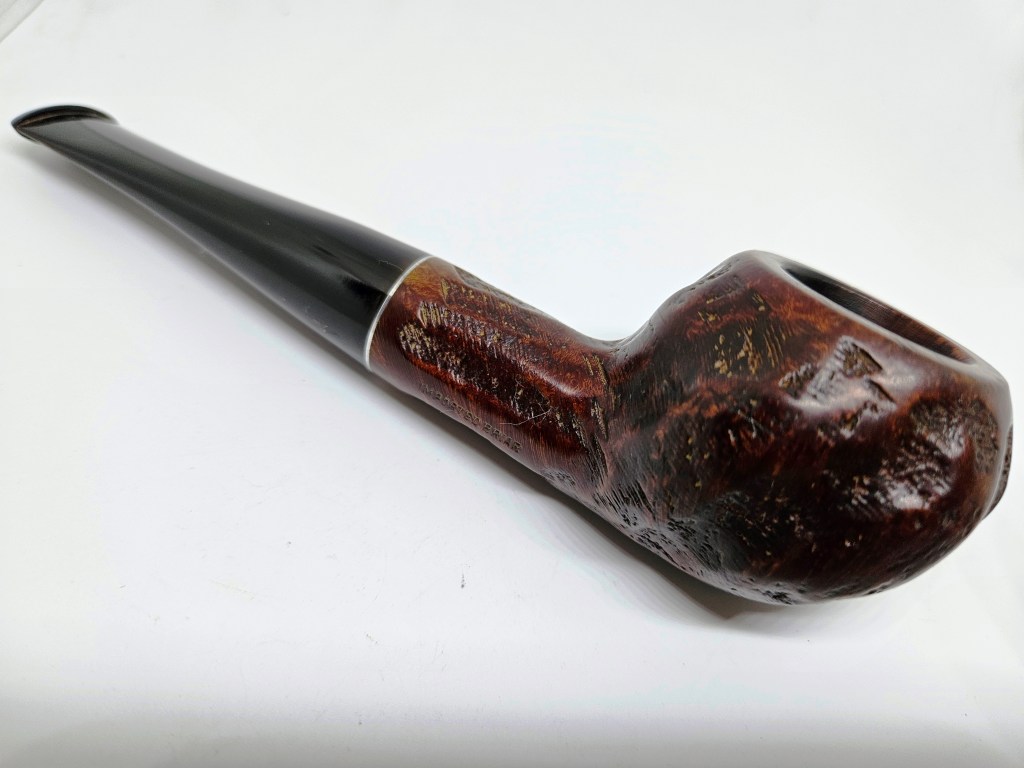
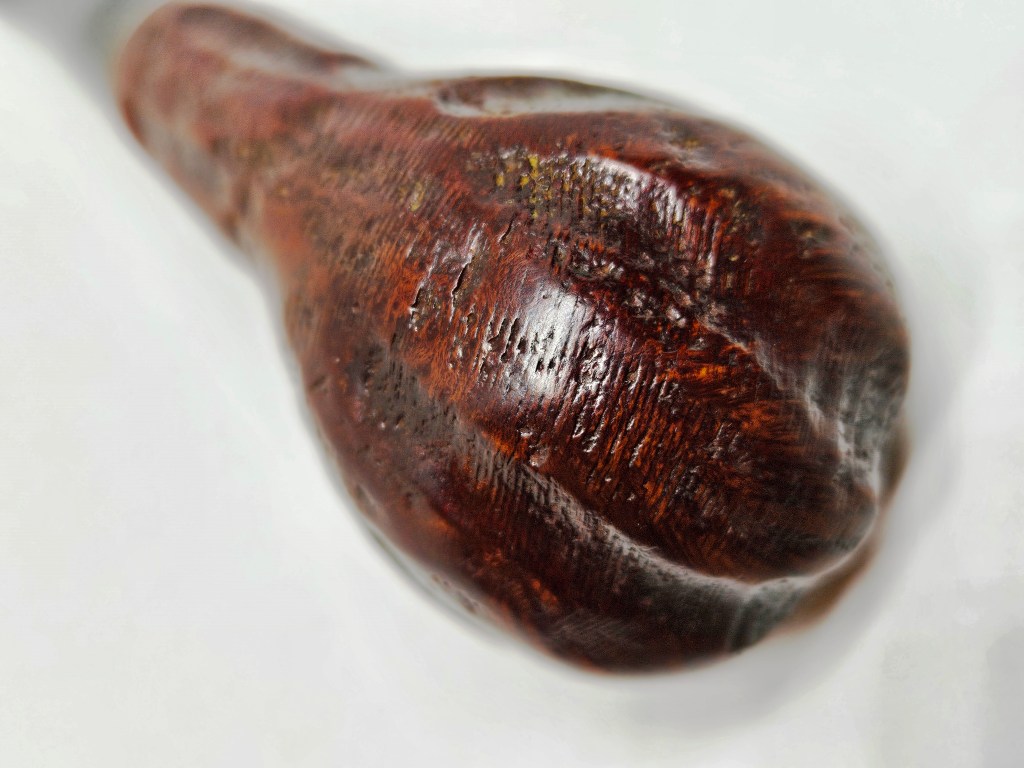
 Jeff took photos of the sides and heel of the bowl to show the condition of the finish. You can see the grime in the rustication around the sides of the bowl and shank. Even under the dirt and debris of the years it looked very good.
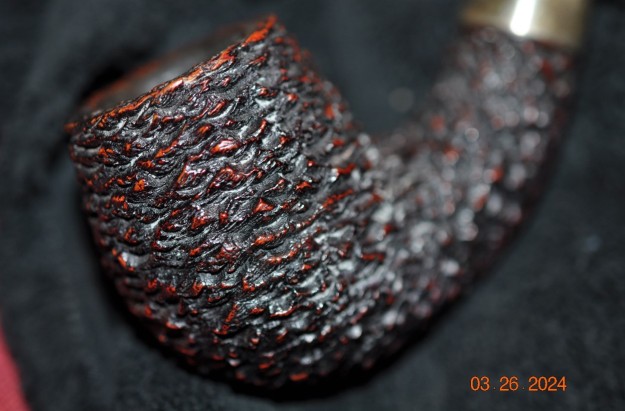
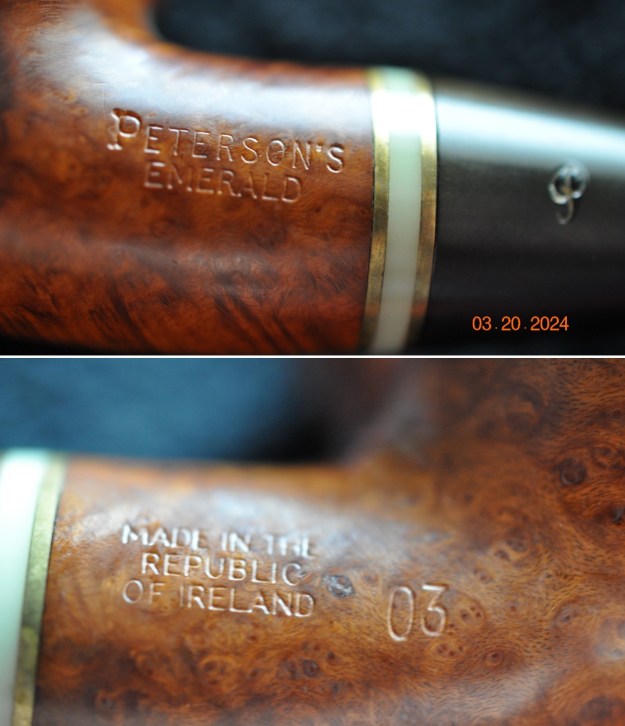
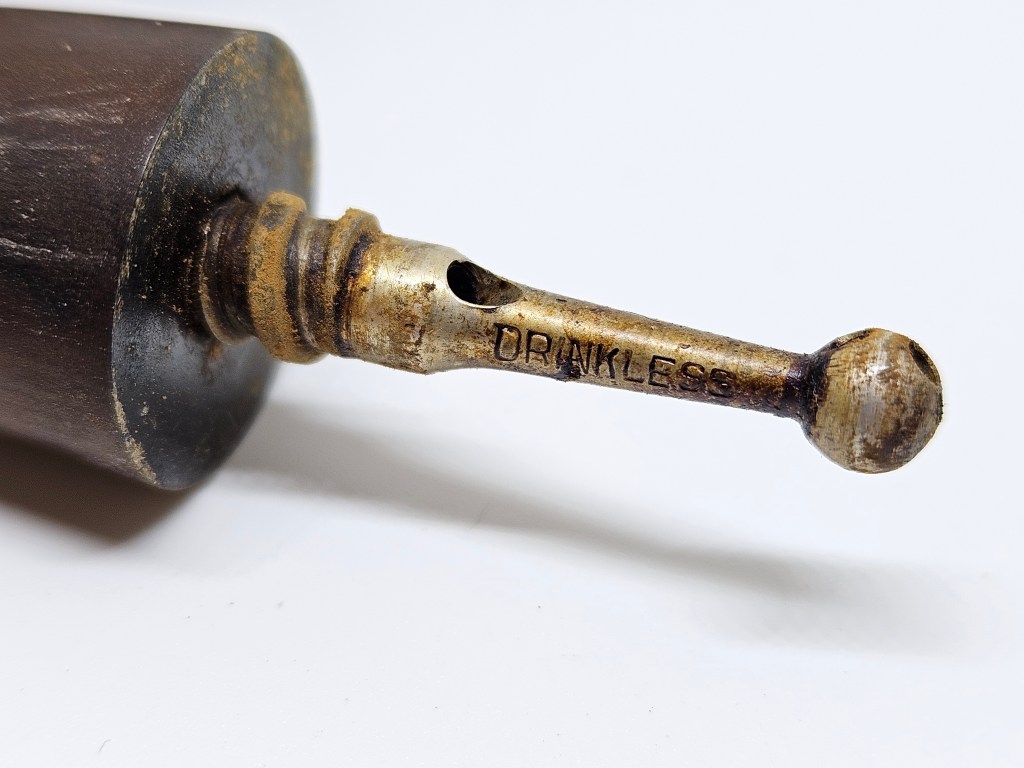
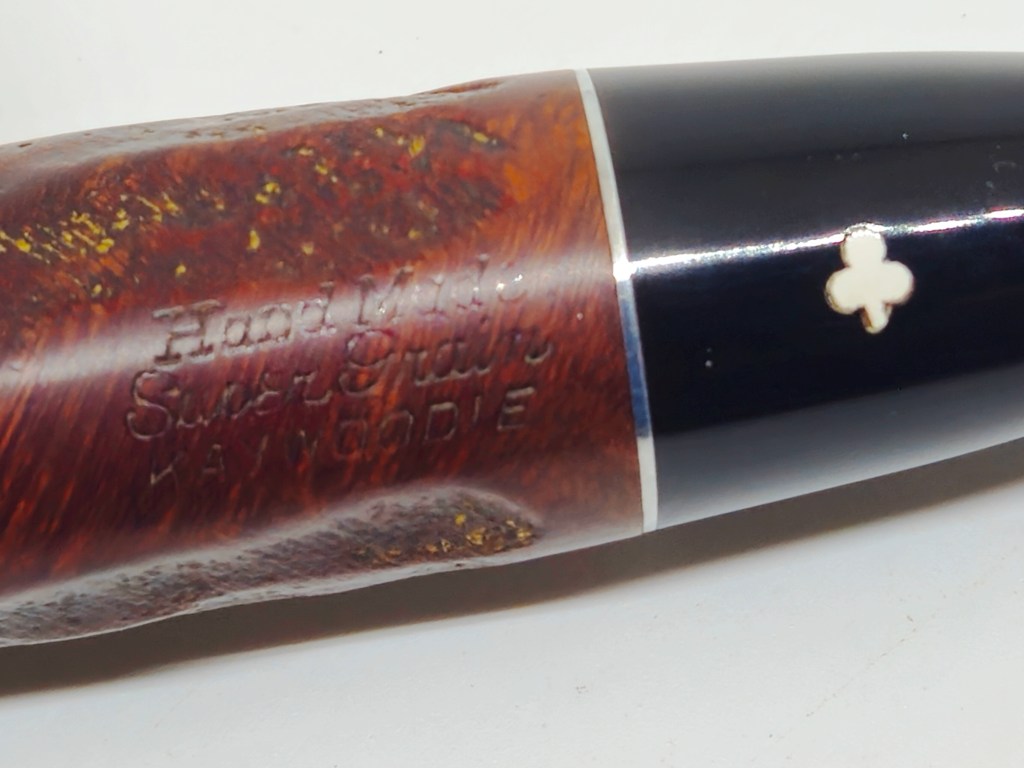
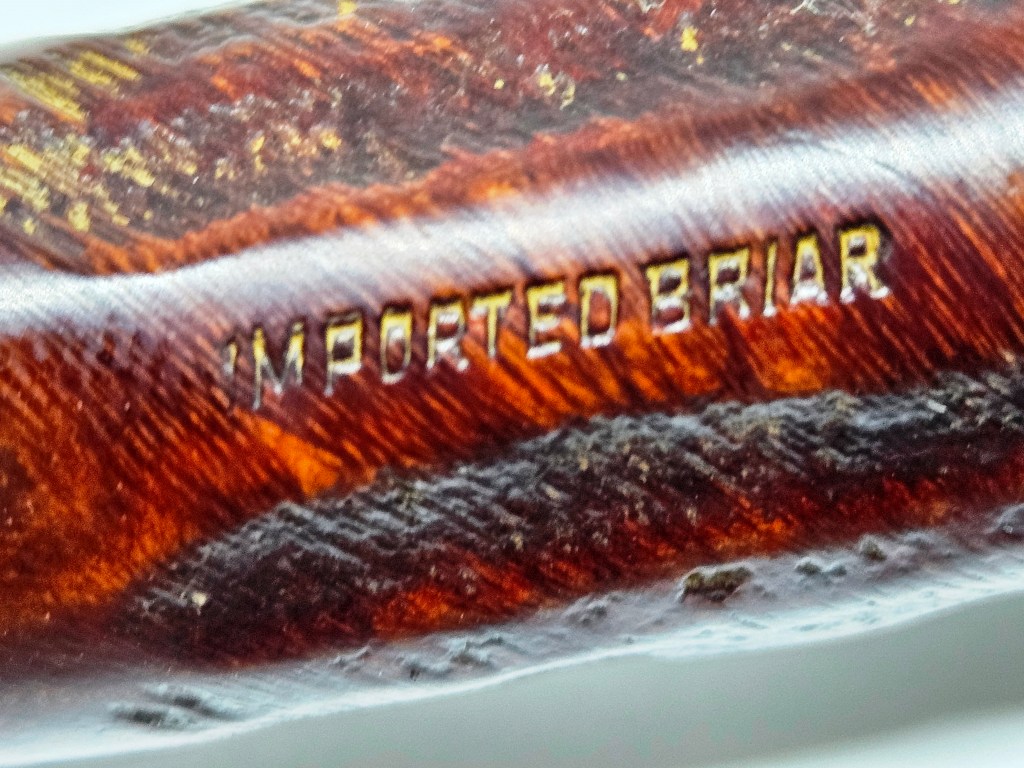
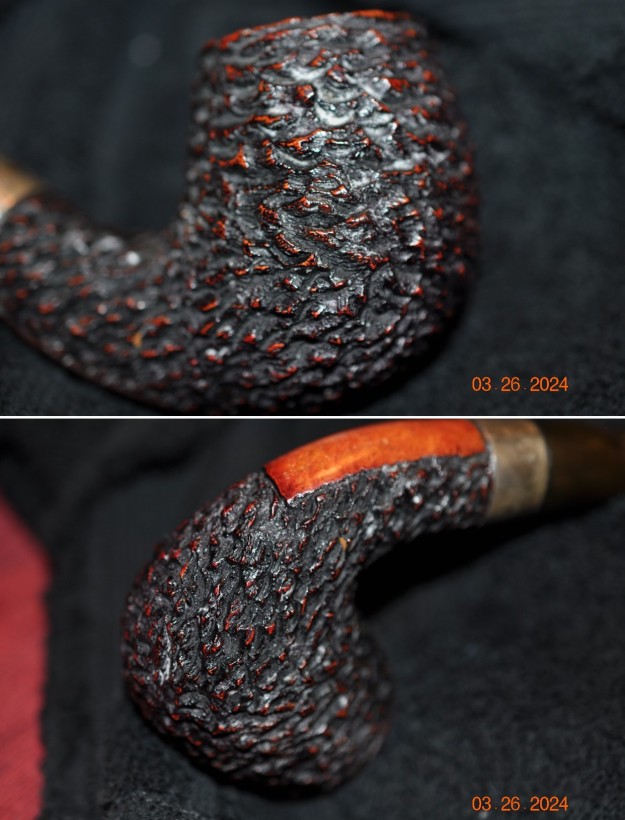 Jeff took photos of the stamping on the underside of the shank. The stamping was faint in spots but readable as you can see from the photos. It read as noted above. The Sterling Silver Band is stamped as noted above and is very readable under the oxidation.
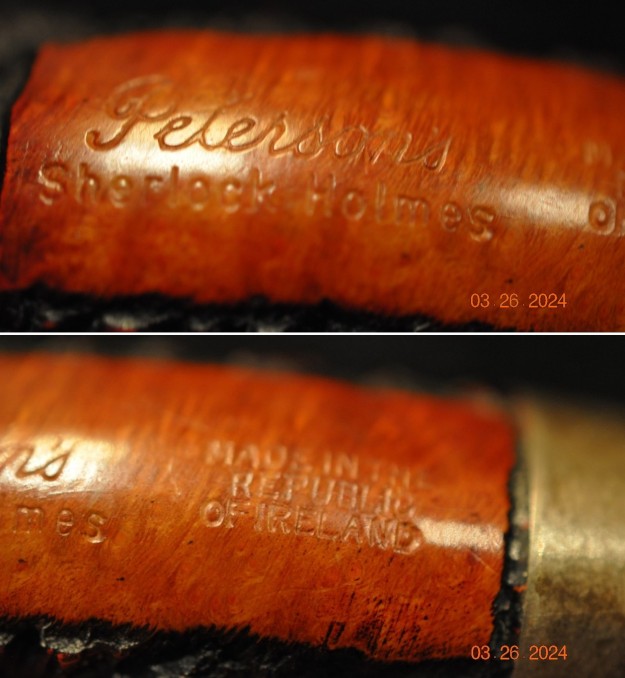
 I wanted to know more about the Peterson’s Sherlock Holmes Line so I turned to the Pipedia article on the line and read it carefully to see where this pipe fit in the line of pipes making up the line. (https://pipedia.org/wiki/Peterson#1950_-_1989_The_Republic_Era). I quote what I found out below.
1987 saw the introduction and Issue of the first Sherlock Holmes ‘Original’ Series of pipes. The Sherlock Holmes series is probably the most successful series of pipes ever introduced by Peterson in terms of numbers. It was first issued to honour Sir Arthur Conan Doyle’s famous fictitious detective character, Sherlock Holmes. Holmes is perhaps the most famous pipe smoking character in fiction…
The Sherlock Holmes Series: Probably the most popular and successful series of pipes ever produced by Peterson. Including the Meerschaum version of the seven day sets. Both briar and Meers can be purchased either as individual pipes or complete seven day sets and stands. Expect to pay around $250 for briars and $300 for individual Meerschaums. The Adventures of Sherlock Holmes runs around $1000 for a 4 pipe boxed set. Complete 7 day sets and stands can be up to $1500 – $2000.
At this point I knew that the original line was introduced in 1987. I did not know the sequence of pipes after the Original first pipe. More work was necessary. So, I followed the links included to another article call the Pete Sherlockiana Group. There was photo there of the full collection of various Sherlock Holmes lines that were issue. I have included the link and the information include with the group photo that shown of the collection below.
Here is the link (https://pipedia.org/wiki/File:Pete_SherlockianaGroup.JPG). The description under the photo read as found below:
Sherlockiana Group, which includes: The ‘Original’ 7 day set w/stand, The ‘Return’ 7day set w/stand, The Meerschaum 7 day set w/stand, The ‘Adventures of’ 4 pipe collection, and Various ‘Silver Specials’. I still wanted to know where it fit in the order of release so I did a bit more digging into the pipe. I wanted to know the name of the pipe and what line of the Sherlock Holmes series it was in when it was released. I Googled and came across a link to an advertising brochure on Smokingpipes.com. (https://www.smokingpipes.com/smokingpipesblog/single.cfm/post/closer-look-petersons-sherlock-holmes-pipes-infographic). I have included it below.
 From that I knew that I was dealing with a Pipe from the Original release of the line from 1987, 1989-1991. It was called the Professor after Professor James Moriarty. The pipe is a large and elegant swan necked bent billiard.
I also found a link to a chart on Tobaccopipes.com that was an exploration the Sherlock Series. Here is the link (https://www.tobaccopipes.com/blog/exploring-the-peterson-sherlock-holmes-series/). Each name on the original list on the site can be clicked on for a description of the pipe that is named.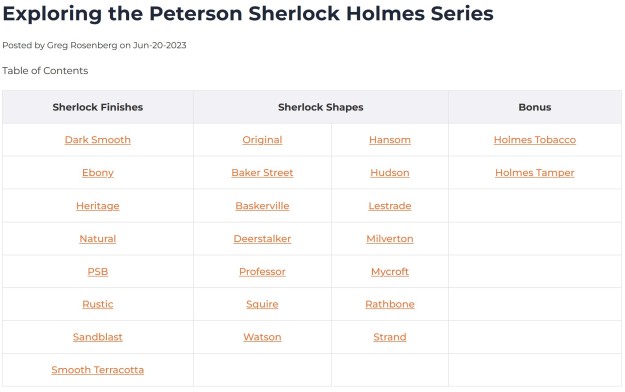 I clicked on the Professor name in the chart above and it took me to the following link and information (https://www.tobaccopipes.com/blog/exploring-the-peterson-sherlock-holmes-series/#baker_street). It states that the pipe was in the Original Collection and came out between 1989-1991.
 The text below the photos reads as follows:
In 1893, the short story “The Adventure of the Final Problem” was publish in The Strand, introducing Sherlock’s heel, Professor James Moriarty; the shape for which the nemesis is named certainly has quite the heel.
With the Professor, we are right back to the bold, husky design at the heart of the Peterson House Pipe style.
The plump heel gives a bulbous visual weight to the base of the bowl. The silhouette offers a bit more splay to accommodate the 1/3 bend. I’m eschewing the swan neck and Nessie comparisons for this stem, I see more of a strong elephant’s trunk in the Professor. It fits just right for the thickset bowl. Though that bowl naturally attracts one’s focus, the stem bears a proportionate strength that keeps the shape in balance. The Professor’s outward reach and large bowl may not make for a comfortable clench, but it practically begs to be cradled in the palm.
With that information in hand I knew what I was dealing with in terms of the stamping and the age of this pipe. I knew from the information that the pipe was made during the Republic Era between 1950 and 1989. The Professor pipe came out as part of the Original Sherlock Holmes Series and was made between 1989 and 1991. Now it was time to work on the pipe.
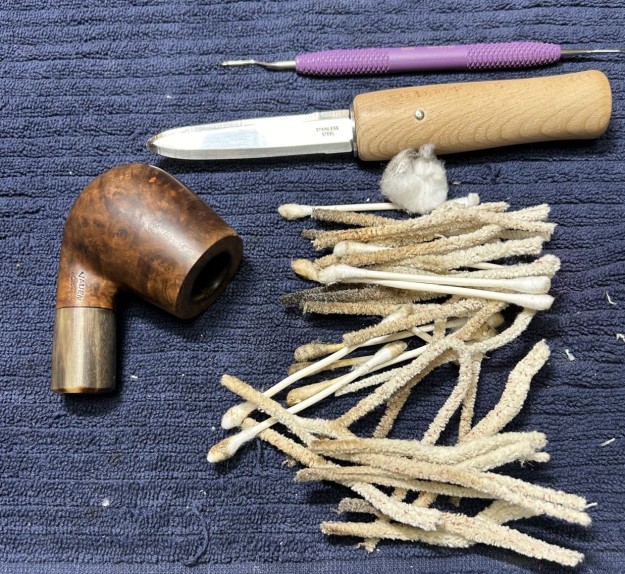
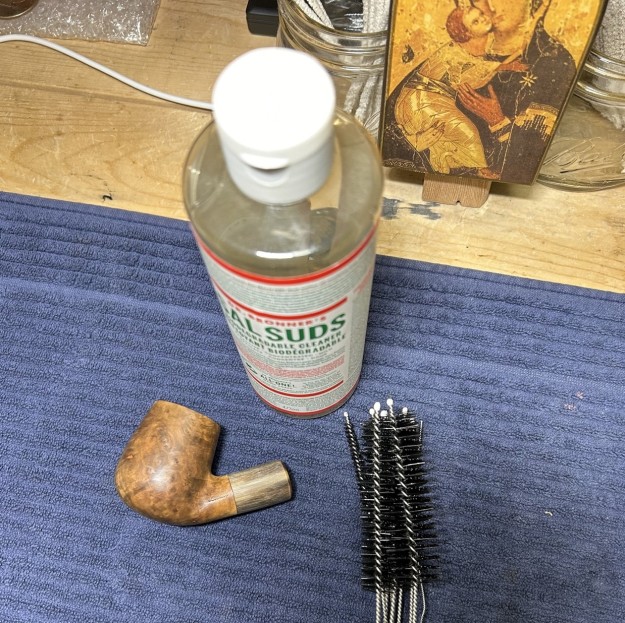
Jeff cleaned this filthy pipe with his usual clean up process. This one was a real mess and I did not know what to expect when I unwrapped it from his box. He reamed it with a PipNet pipe reamer and cleaned up the reaming with a Savinelli Fitsall Pipe Knife. He scrubbed out the internals with alcohol, pipe cleaners, shank brushes and cotton swabs until the pipe was clean. He scrubbed the exterior of the bowl with Murphy’s Oil Soap and a tooth brush to remove the grime and grit on the briar and the lava on the rim top. The finish looks very good with great looking grain showing through the deep rustication around the bowl and shank. There is some fading on the rim top stain that I will work on but it is a beauty. Jeff soaked the stem in Briarville’s Pipe Stem Deoxidizer to remove the debris on the acrylic surface. When the pipe arrived here in Vancouver for the second stop of its restoration tour I was amazed it looked so good.
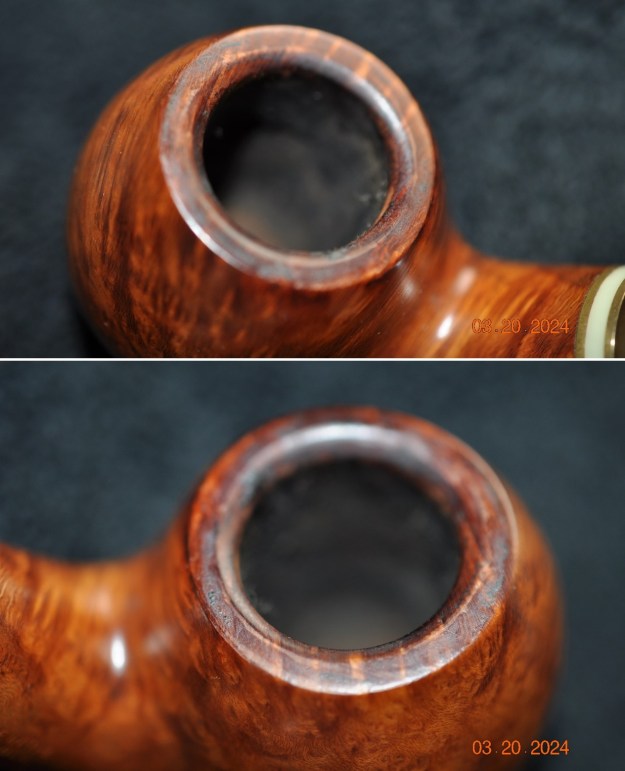
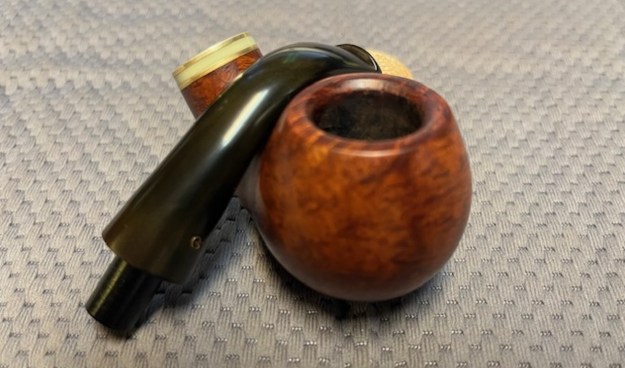
 I took some close up photos of the rim top and also of the stem surface. I wanted to show what an amazing job Jeff did in the cleanup of the rim top. The rim top was and inner edge were in excellent condition. The stain had washed out a bit so I would need to restain those areas but otherwise it is beautiful. I also took close up photos of the stem to show the condition of the acrylic. It was quite clean other than the light tooth marks and chatter on both sides of the stem ahead of the button.
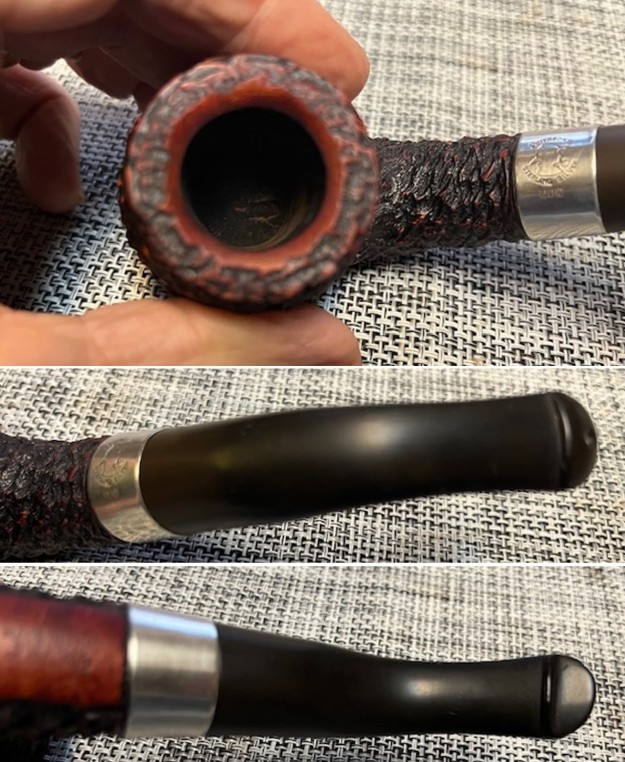 One of the things I appreciate about Jeff’s cleanup is that he works to protect and preserve the nomenclature on the shank of the pipes that he works on. The stamping on this one was faint in spots to start with so I was worried that it would disappear altogether with the cleanup. He was able to preserve and maintain its condition in the process. I took some photos to show the clarity of the stamping. I have noticed that many restorers are not careful to protect the stamping in their cleaning process and often by the end of the restoration the nomenclature is almost destroyed. I would like to encourage all of us to be careful in our work to preserve this as it is a critical piece of pipe restoration! I took the stem off the shank and took a photo of the pipe. The silver P logo on the left side of the stem is in excellent condition.
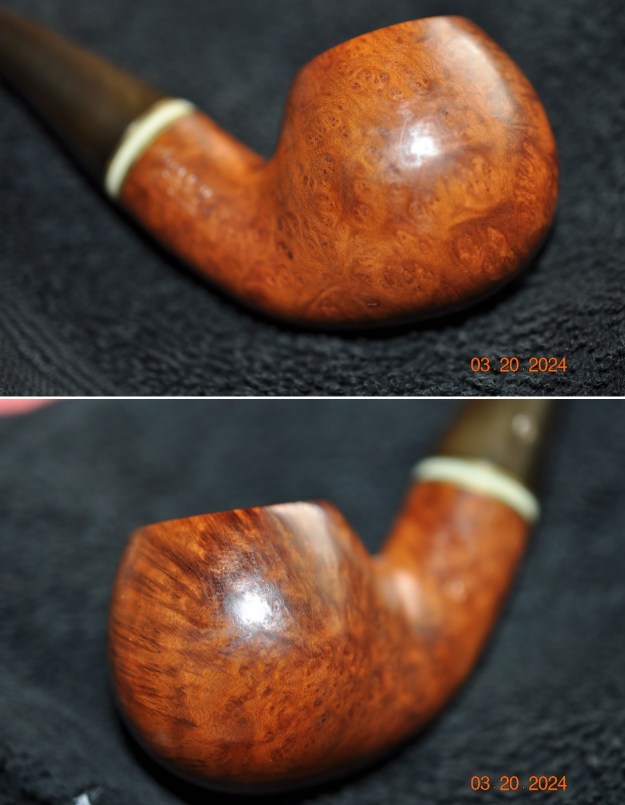
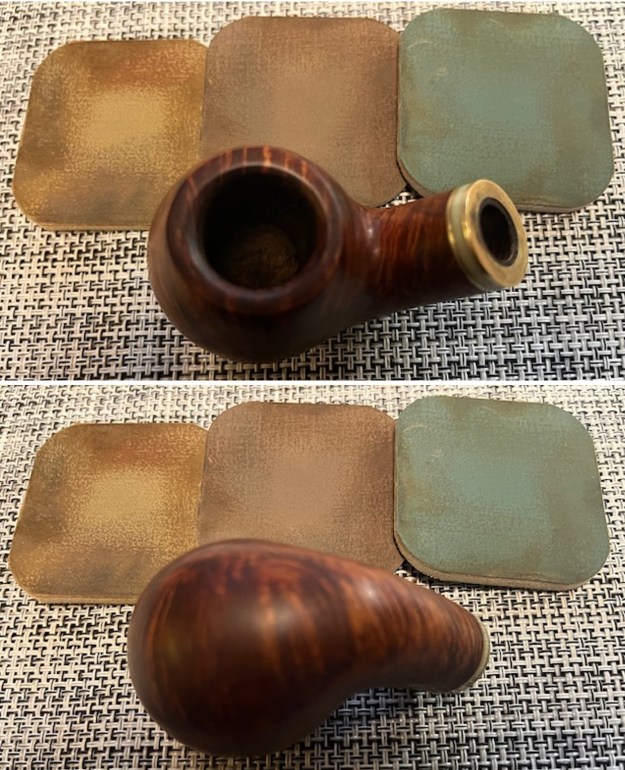
 I decided to start my work on the pipe by restaining the rustication on the rim top. I touched it up with a Mahogany Stain Pen to blend it into the rest of the rustication around the bowl and shank. The photo shows the look at this point.
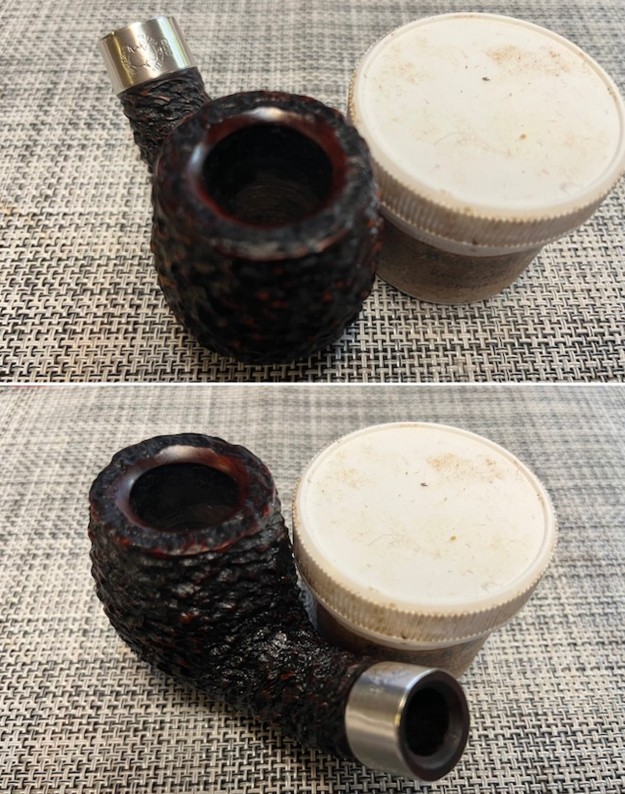
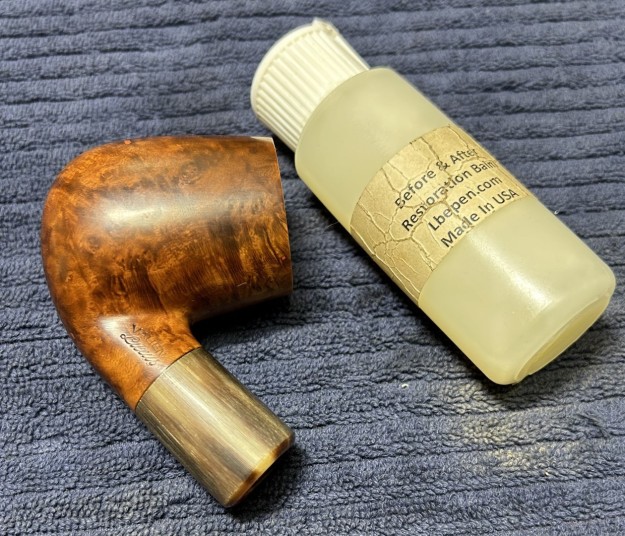
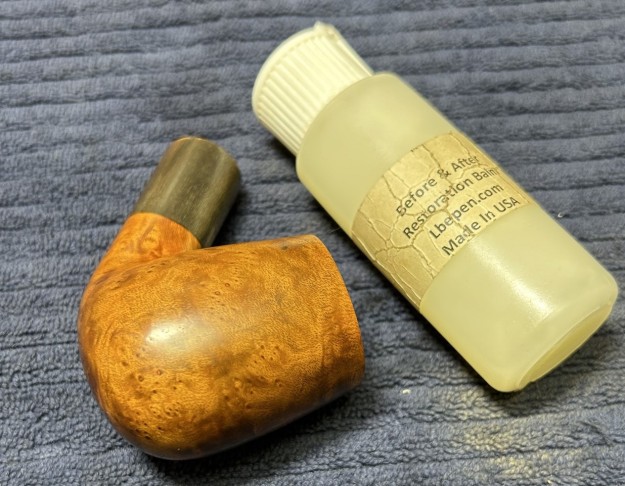
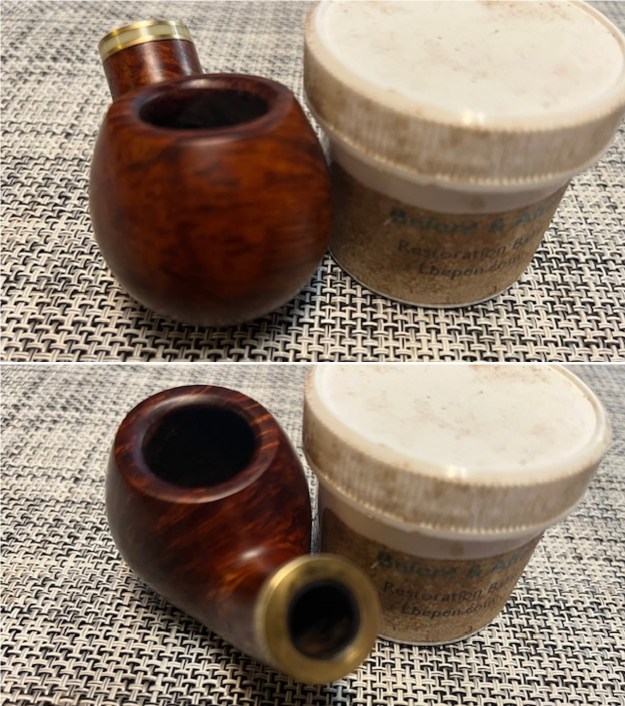
 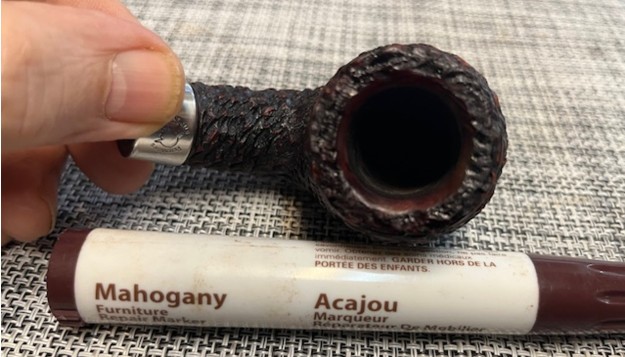 I rubbed the bowl and rim down with Before & After Restoration Balm. I worked it into the rusticated surface of the briar with my fingertips and a horse hair shoe brush to clean, enliven and protect it. I let the balm sit for 10 minutes and then buffed with a cotton cloth to raise the shine. I really like watching the Balm do its magic and bring the briar alive.
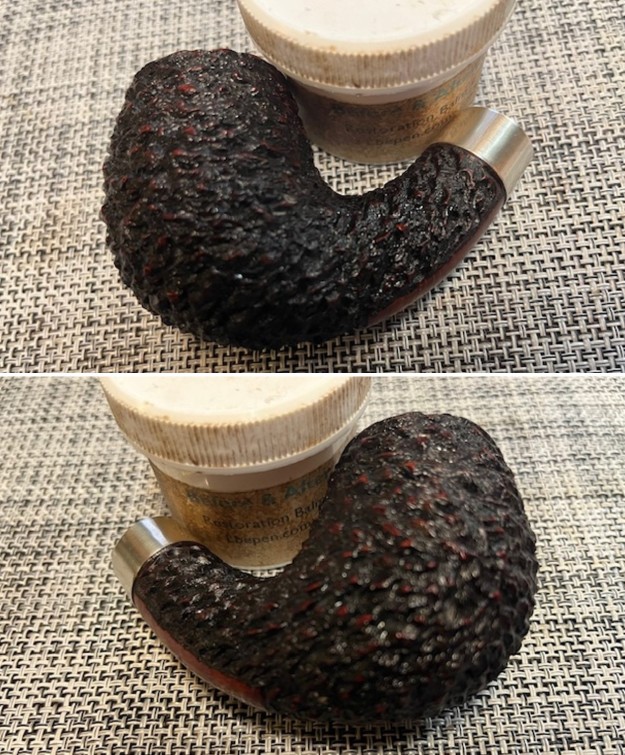

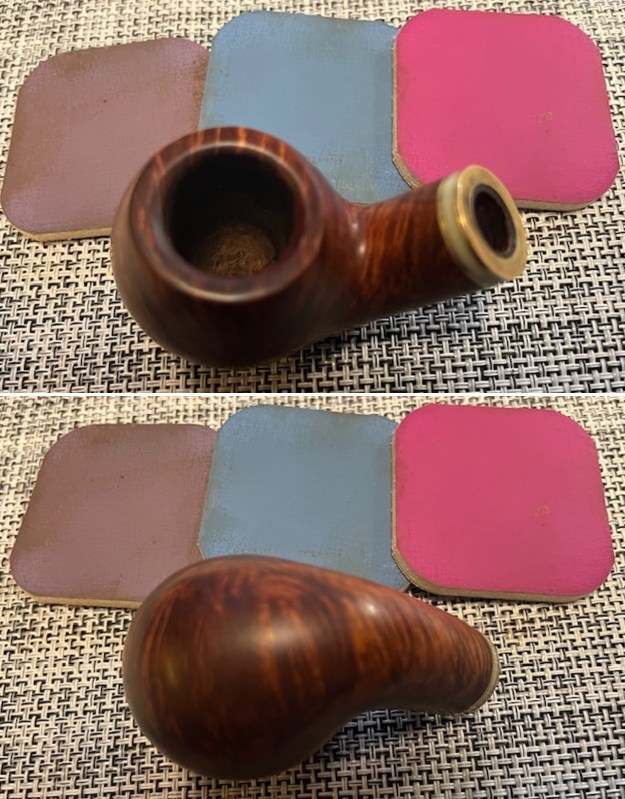
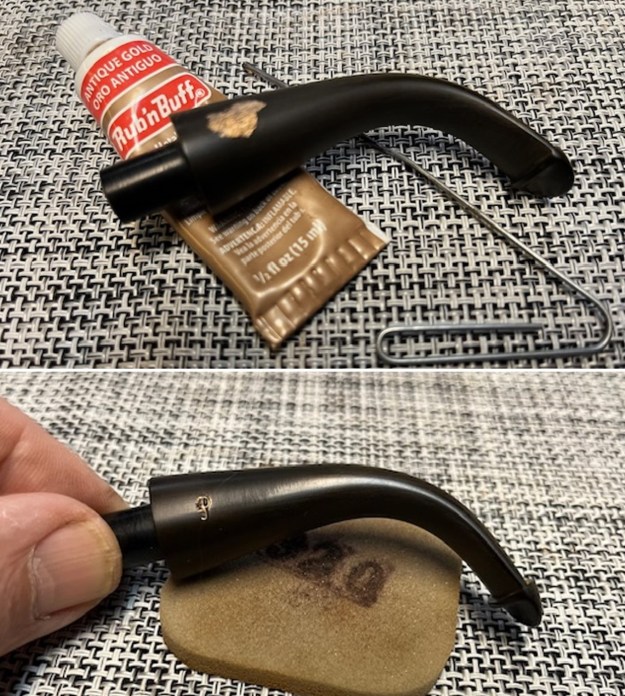
 It is looking quite good at this point. I still needed to turn the band on the shank. The Sherlock Holmes Logo on the band was on the top of the shank and should have been on the left side. I heated it with a lighter and then turned it carefully with a towel wrapped around it. I gave the shank end a light coat of white all-purpose glue and then pressed the band onto the shank and aligned the stamp properly on the left. I wiped off the excess glue with a damp cotton pad so as not to leave any of the glue in the rustication around the shank and band. It looked much better.
 I polished the Sterling Silver shank band with a jeweller’s cloth to remove the tarnish and also to preserve and protect the silver. It looks much better with the shine.
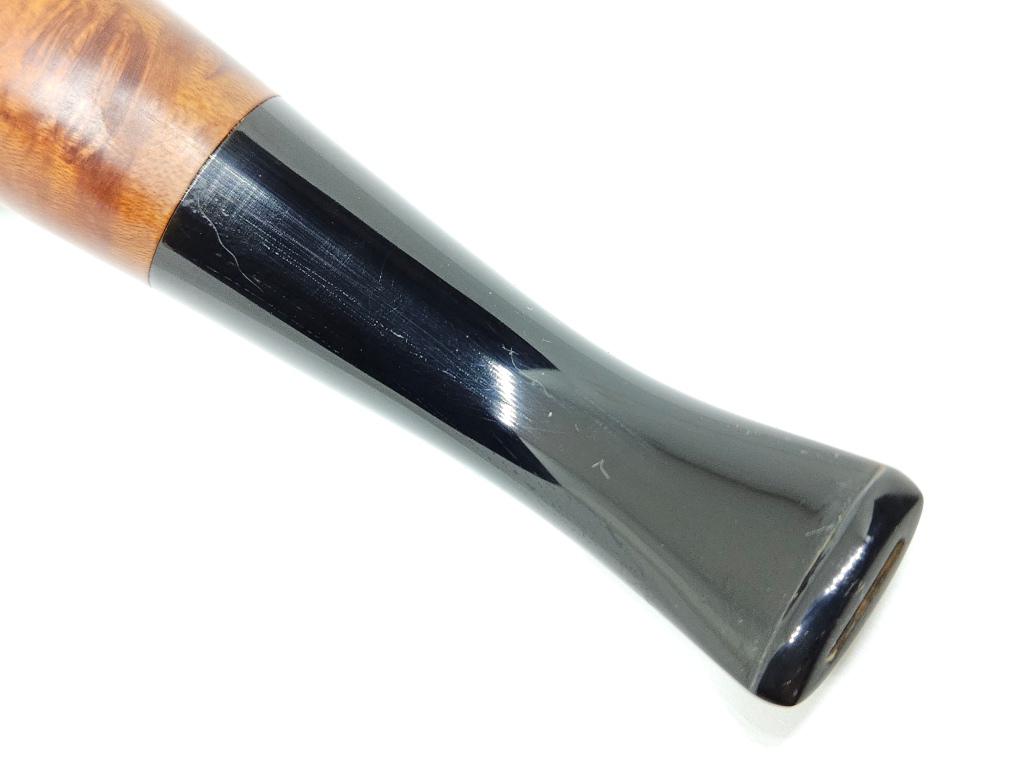
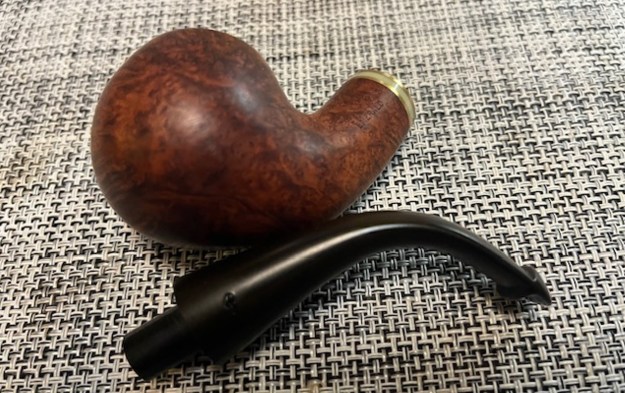
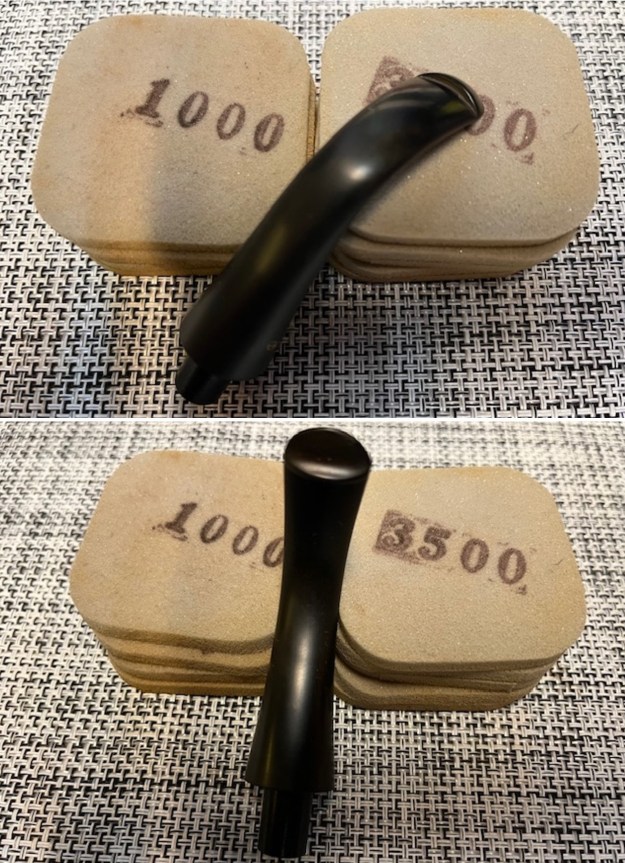
 I set the bowl aside and turned my attention to the stem. I polished the stem with micromesh sanding pads – dry sanding with 1500-12000 grit pads. I wiped the stem down after each sanding pad with Obsidian Oil. I polished it with Before & After Pipe Stem Polish – both Fine and Extra Fine. I gave it a coat of Obsidian Pipe Stem Oil. It works to protect the stem from oxidizing. I set it aside to dry.
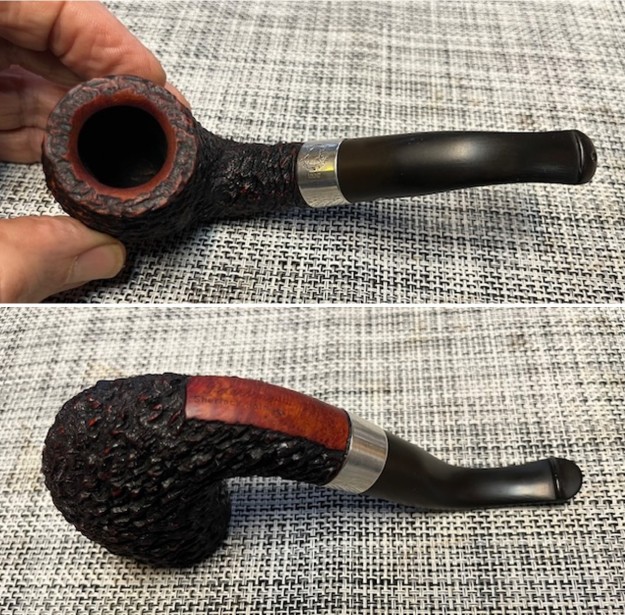
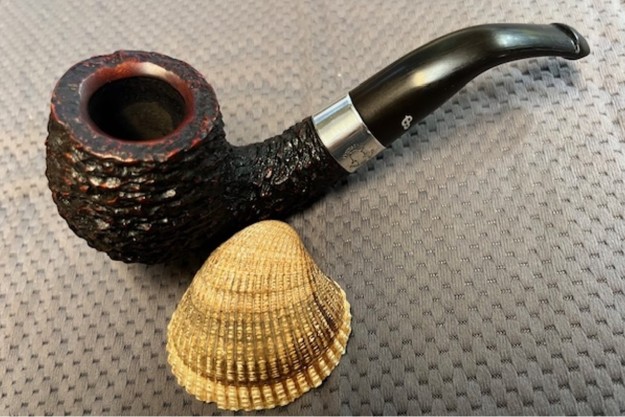
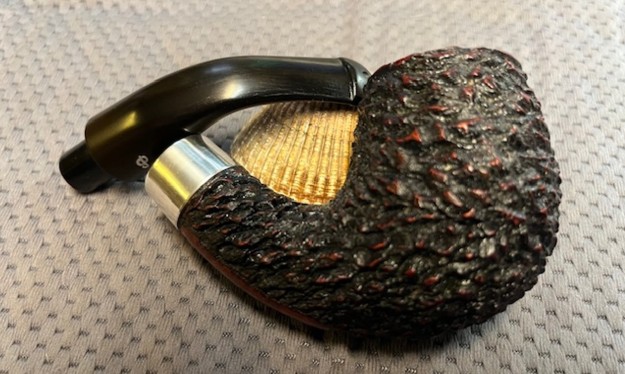
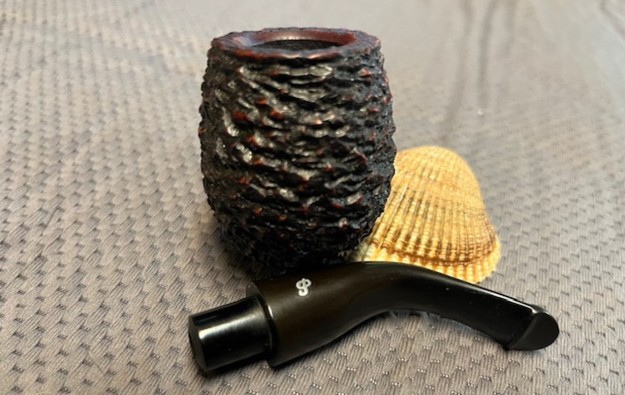
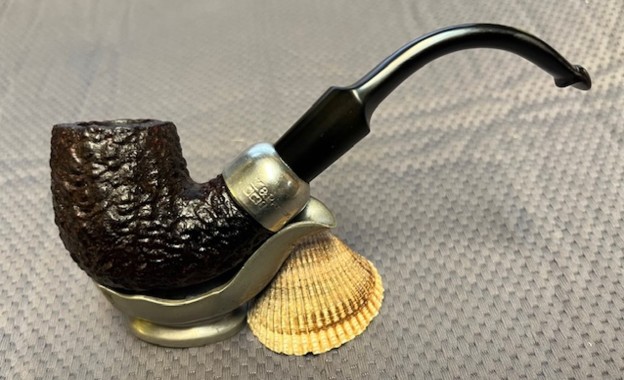
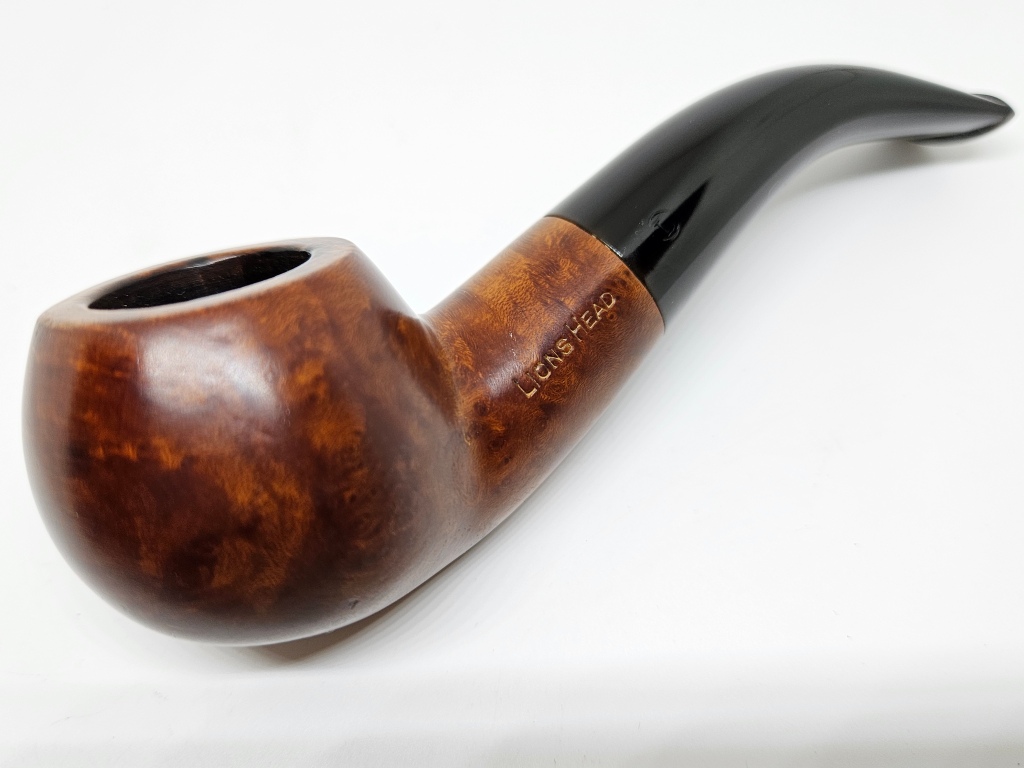
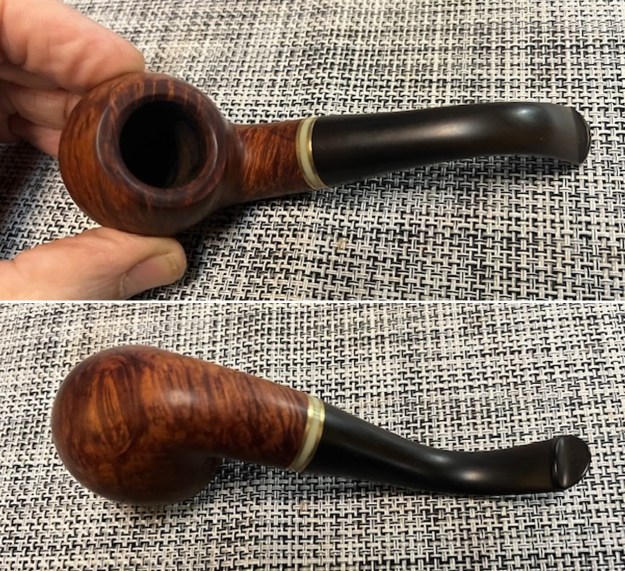
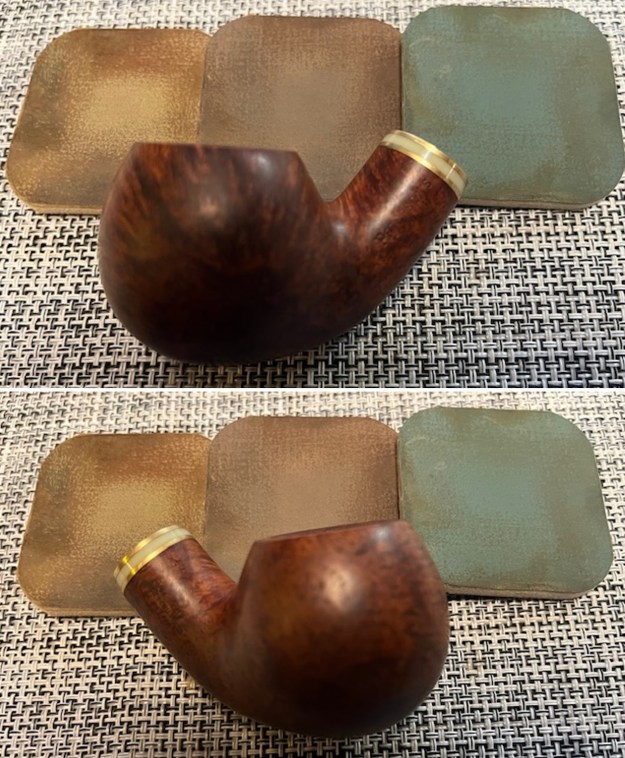
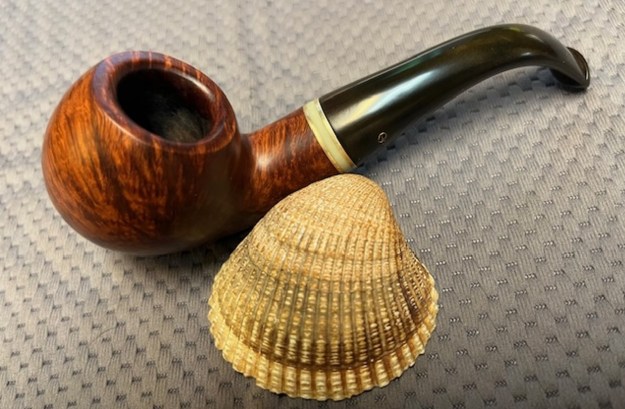
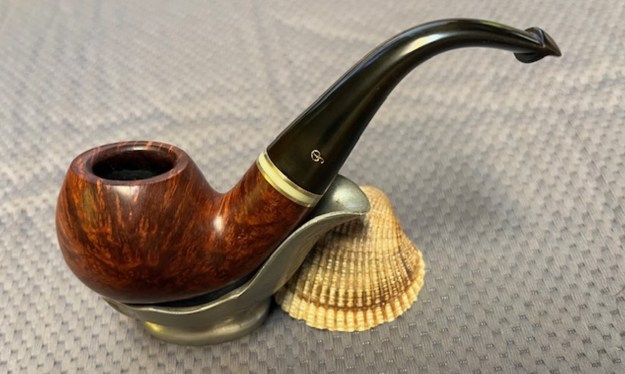
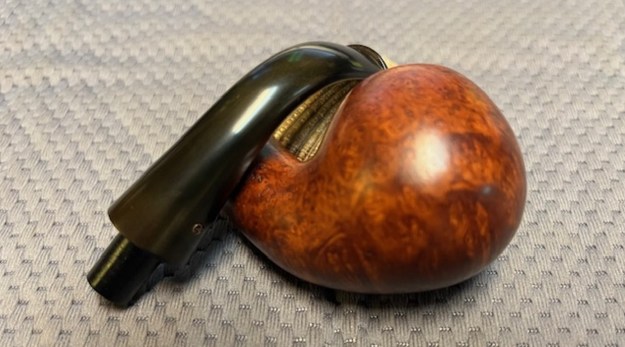
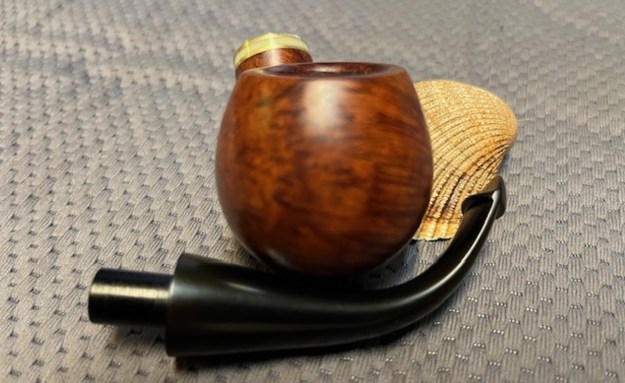
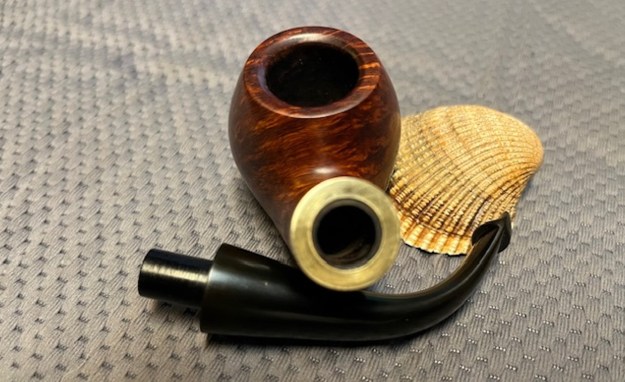
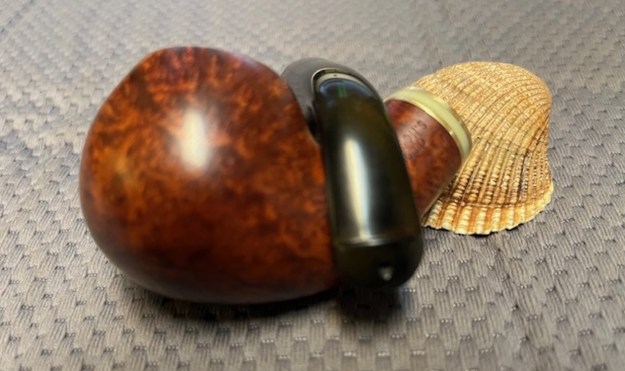
 I am excited to be on the homestretch and look forward to seeing the Republic Era 1991 Sherlock Holmes Professor Bent Billiard put back together, polished and waxed. I put the bowl and stem back together and lightly polished the bowl and stem with Blue Diamond to polish them. I gave the bowl multiple coats of Conservator’s Wax and the stem multiple coats of carnauba wax. I buffed the pipe on the wheel with a clean buffing pad to raise the shine. I hand buffed it with a microfiber cloth to deepen the shine. The depths of the rustication really pop with the wax and polish. The shiny black acrylic stem is a beautiful contrast to the red and browns of the bowl, thick shank and Sterling Silver Band. This Peterson’s Sherlock Holmes Professor was a fun pipe to work on. The pipe is tactile in the hand and should feel great as it is warmed up when smoking. The finished pipe is shown in the photos below. The dimensions of the pipe are Length: 5 ½ inches, Height: 2 inches, Outside diameter of the bowl: 1 ¼ inches, Chamber diameter: ¾ of an inch. The weight of the pipe is 2.40 ounces/ 69 grams. I will soon be putting it on the store in the Irish Pipemakers Section if you are interested in adding it to your collection.
As always, I encourage your questions and comments as you read the blog. Thanks to each of you who are reading this blog. Remember we are not pipe owners; we are pipe men and women who hold our pipes in trust until they pass on into the trust of those who follow us.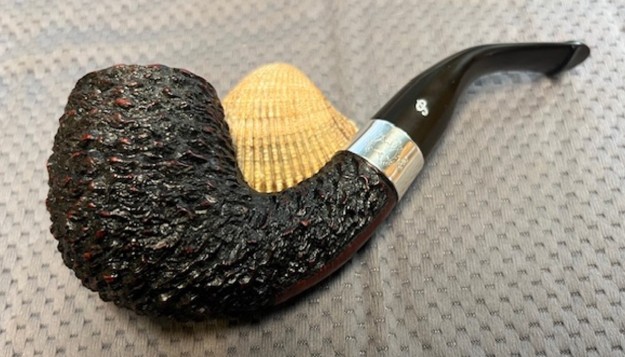


