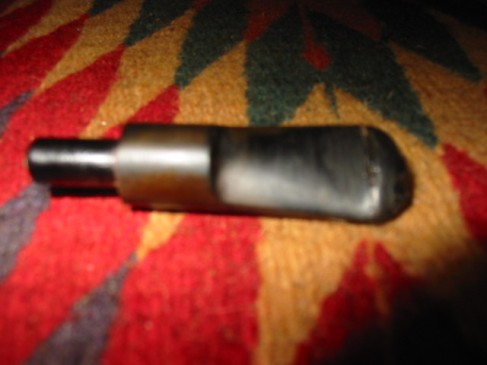
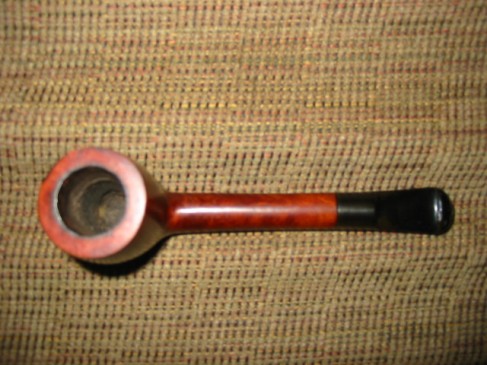
I just finished reworking this old stem from an Imperial Two Point Made in London Lovat. The stem was very unique in that it is a p-lip design though slotted in the airway. I have a second one that I am working on that has the same stem so I believe this is one of the hallmarks of the Two Point. That being the case I decided to restore the stem rather than cut a new one. You can see the state of the vulcanite from the three pictures below. The first picture is of the top of the stem. There were three major tooth dents in the surface of the stem, two chunks out of the edge of the button and a piece missing out of the edge of the lip of the slot. The second picture is of the underside of the stem. There you can see one major dent from teeth and also several smaller dents. There is also a dent in the edge of the lip of the pipe that has moved the straight line with a dip in it. The third picture shows the slot in the end of the stem, it is a bit out of focus but you can see the missing piece at the left side of the top edge.
I used my heat gun set on low to lift the dents as much as possible before working on the stem with sandpaper and superglue patches. I cleaned the surfaces of both the top and bottom of the stem after heating and then sanded them with 240 grit sandpaper to remove oxidation and anything that would prohibit the glue from sticking. In the first photo below you can see the two patches on the dents that remained after heating on the underside of the stem and the work that has been done straightening the line. I decided to work on the underside first as it needed a bit less repair. Once the glue was dry I turned the stem over and patched the top side. In the second photo below you can see the super glue patches on the surface of the stem, the two dents on the edge of the button to build up the edge. Once it was dry I planned on using needle files on both top and bottom to sharpen the edge of the button to a crisp restored look.
The next two photos show the top and bottom surfaces of the stem after sanding with 240 grit sandpaper to bring the glue patches flush with the surface and using the needle files to sharpen the edges of the patched button.
The next picture (I apologize for the blurriness but I think it still is clear enough to see the point I am making) shows the work that was needed to rebuild the lip of the button on the topside where the chip was. I carefully layered in black superglue making sure not to close off the airway. I used a greased pipe cleaner folded in half in the airway of the slot to provide a base to build on. Once the base was buildt I stood the stem on end and gradually layered in super glue to build up the top edge of the slot. The goal was to return it to a smooth rounded crown with a clean straight slot for the airway.
The next two pictures show the build up area on the end of the button. It is a shiny black spot in the photo at the bottom right edge of the button. Each one shows a bit more of the build up to give an idea of the process. I would have to recut the edge of the button on the top side when the build up was complete.
When I had the surface filled to satisfaction I recut the edge of the button with the needle files and also sanded the surface with 240 grit sandpaper and 400 and 600 grit wet dry and water to smooth out the fill. I then proceeded to use my normal list of micromesh pads from 1500-6000 grit to finish the stem. I put the stem back on the pipe and buffed it with White Diamond. I took it back to the work desk and gave it a coat of Obsidian Oil, wiped it off when dry and gave the stem a final coat of carnauba wax. The pictures below show the finished stem. The first one shows the topside and the rebuilt crown of the button. The glare and shadows on the picture do not allow you to see clearly the recut edge but it is straight and clean. The second picture shows the underside of the stem and the crisp straight edge of the button. The final picture is an end shot to show the slot and the curve and flow of the crown of the button.
Overall I am pleased with the repair and now have a renewed pipe.


