Blog by Steve Laug
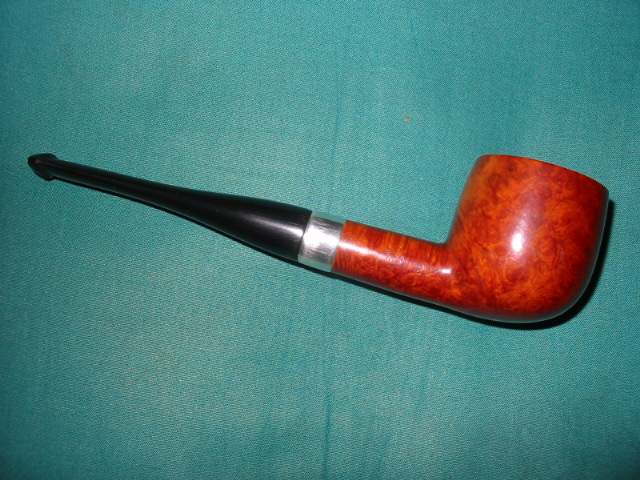
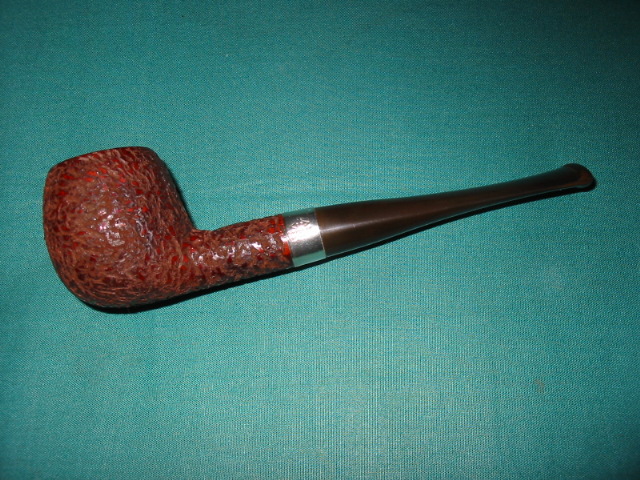
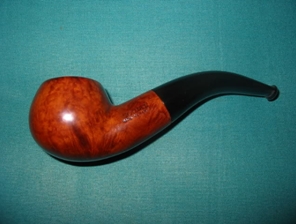
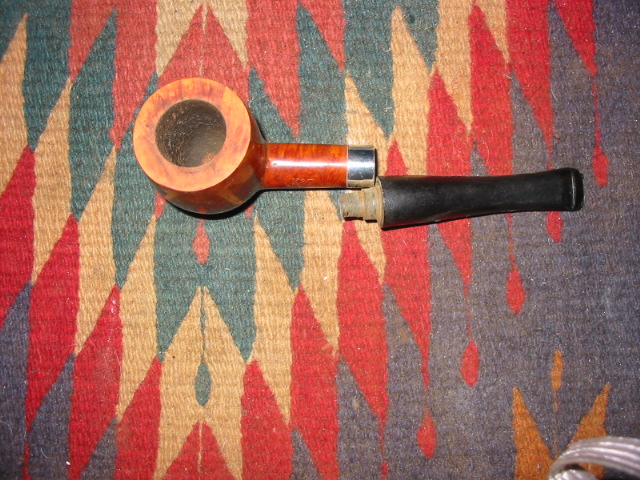
I picked up this pipe bowl – a Pete 207 – an early Peterson from the late 40s. It was in need of a stem. I have a couple of cans of stems that are precast blanks. They need to have the tenons turned to make them fit correctly.

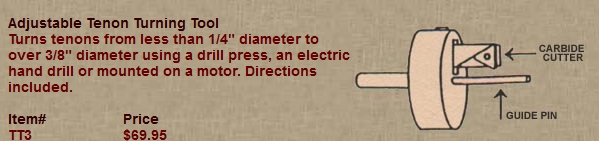
I have a PIMO tenon turning tool like the one pictured in the diagram below. I have to drill the stems to fit the guide pin as they are generally very small. Once that is done with a bit on my cordless drill I then put it on the tenon tool and adjust the carbide cutter to the diameter tenon I want to cut. I always start large and work my way down. I have found that trying to cut too much off at once causes the tenon to chip or break. So I start large and work my way down until it fits the mortise. I found this YouTube link that gives a video presentation of the process so I have included that as well for your information http://www.youtube.com/watch?v=drKxzteEEPk A quick look at the video will show you the process I use in turning the tenons. I generally turn the tenon until it is close to fitting and then finish the fit by hand. I have found it is better to proceed by hand from that point so as I don’t take off too much of the vulcanite and have a loose fit on the tenon. I will show that process from the point the tenon has been fit in this pictorial essay.
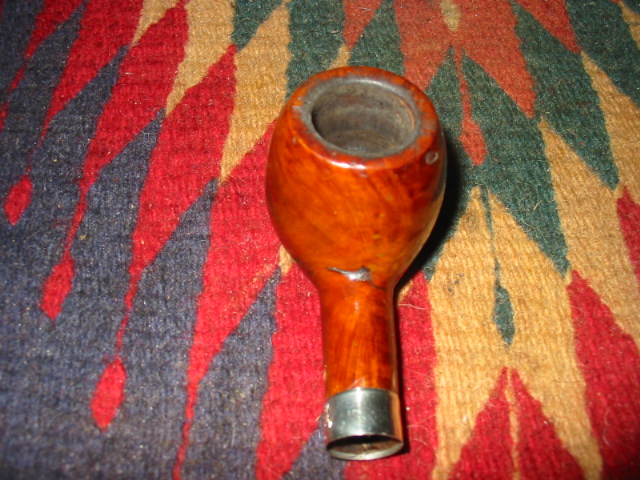
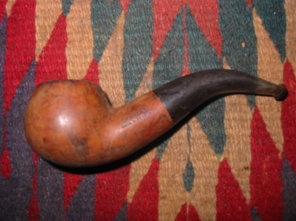
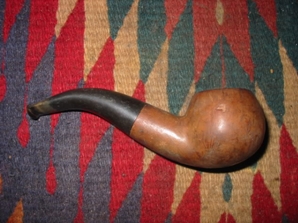
Below is a stem blank that I picked up online from Pipe Makers Emporium. I have several coffee cans full of different sizes of blanks. I sort through them to find one that is close to the outside diameter of the shank. I find that it is not too difficult to get the two to match with a lot of sanding and fine work.
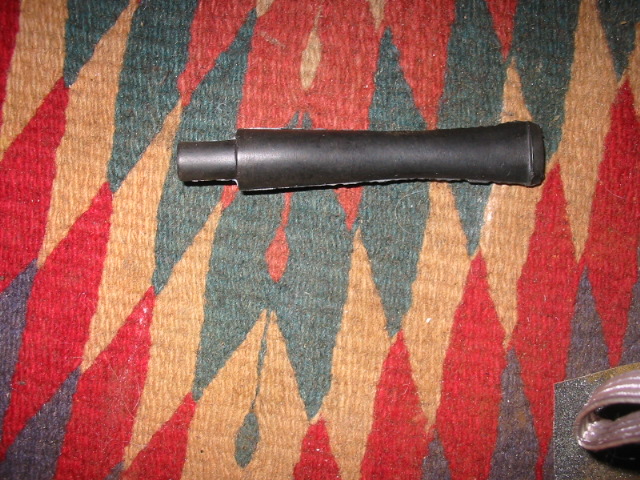
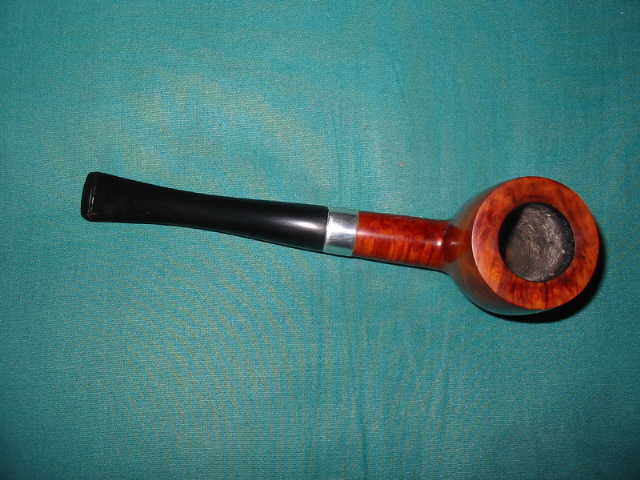
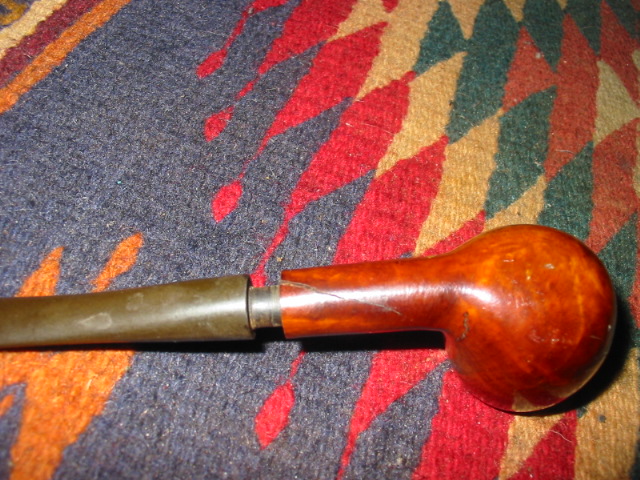
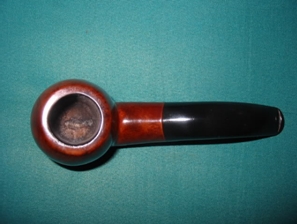
Below is a picture of the bowl prepped and ready for the new stem. I cleaned the top and polished the silver band as I want nothing in the way of a tight fit for the stem. You will also notice in the photo that the tenon is partially turned for a fit. I stopped at this point to show the process. The large portion still remaining on the tenon shows the first turn of the tool to take off the first portion of vulcanite. I keep the tool turning so that the carbide blade removes the face of the stem as well so that the seat will be straight and flush at the union of stem and shank. I find that when I do this at the beginning of the turn it give a good clean finish. The step down in the tenon shows the next portion removed. I have adjusted the tool to take off that portion. After this photo I finished turning the tenon.
The PIMO tenon tool took a bit of work for me to figure out the adjustments as I purchased the tool second hand without the instructions. The fellow I bought it from gave me some quick lessons on how to adjust it. He even threw in the hex keys!! So needless to say, I learned by trial and error how to adjust the cutting head and keep it straight for a straight cylinder cut on the tenon. Since then I have it has been pointed out to me that Kurt Huhn of Pipe Makers Forums has noted the tricks I learned the hard way.


I will try to capture the trick in my own words, combining what I have learned the hard way with Kurt’s recommendations. The first step in the process is to adjust the cutting head. Start by removing small portions at a time. To deep a cut makes the cutter wobble and give an uneven tenon. To adjust the cutting head insert the adjustment hex key (larger hex screw on the tool) and the lock key (smaller hex screw) into their set screws. Do not turn them, just insert them. Push in lightly on the adjusting key and pull up slightly. Loosen the lock key a quarter or half turn. While maintaining the up and in pressure on the adjusting key turn it in increments of a half turn (think half hour on a clock). With steady pressure on it by pulling it up, the arm with the carbide cutting head is not loose and wiggling as it is adjusted. If it is loose while adjusting it, you will get non-cylindrical tenons regardless of the number of turns from zero. Do not let go of the adjusting key, tighten the lock key while the pressure remains on the adjusting key. Pull the adjusting key straight out, being careful not to turn or press down on it. Trim the stem and repeat as you need to get a good tight fit on the tenon.
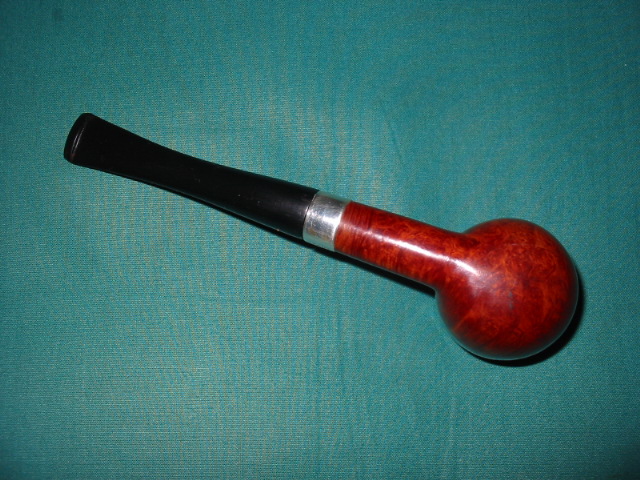
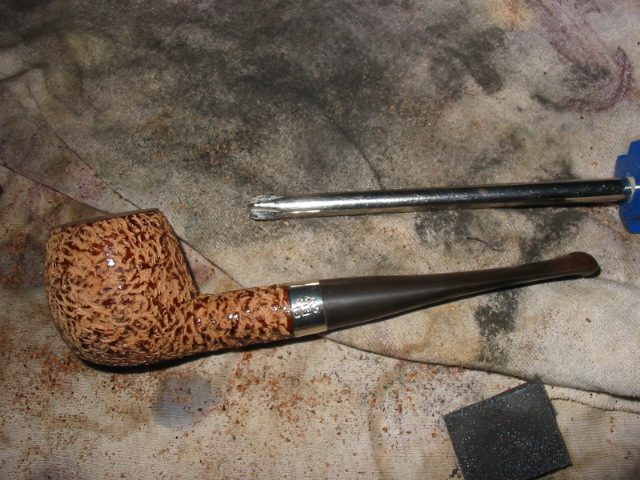
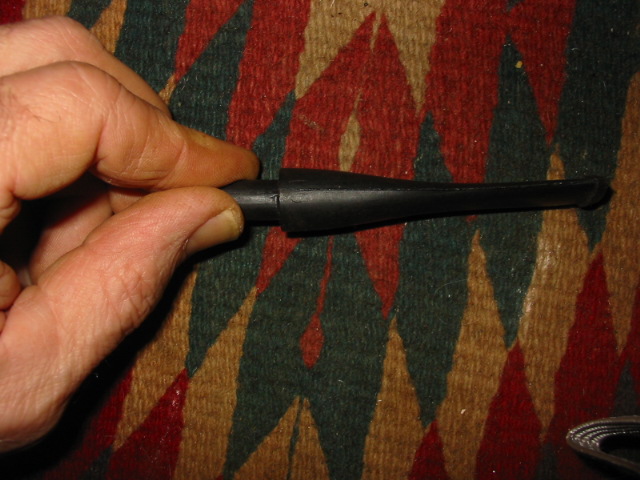
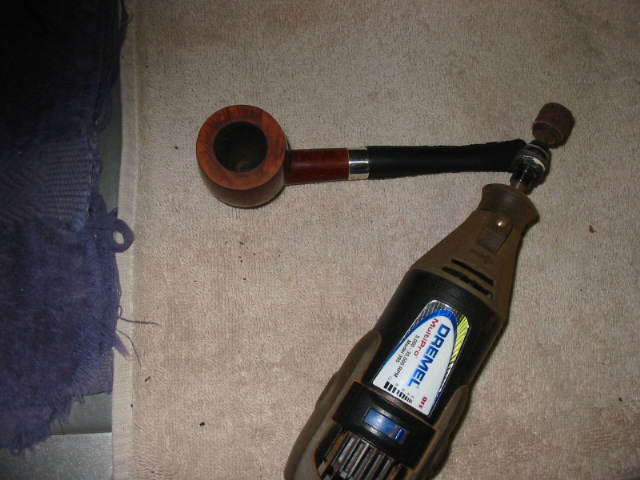
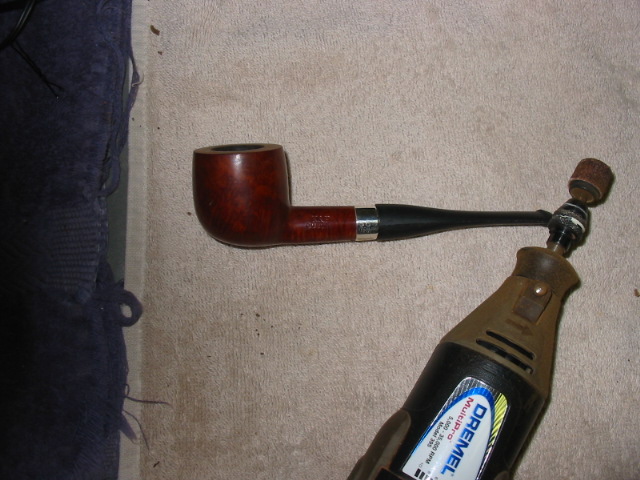
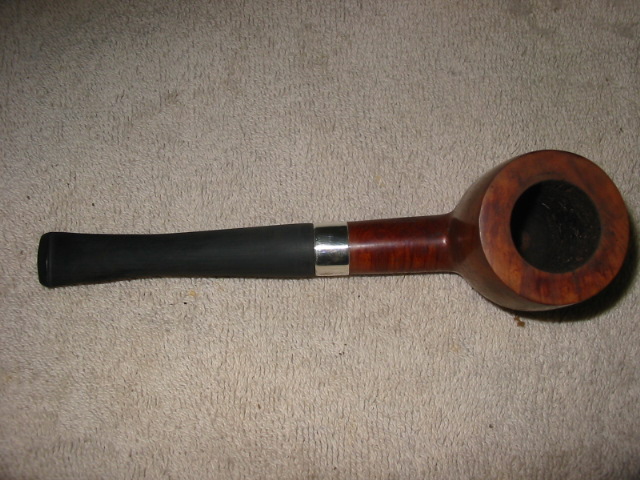
The next sequence of photos shows the tenon finished and the fit clean and tight. I hold it up to the light to make sure that there is no light showing between the stem and shank. Also note the Dremel with the sanding drum in the photo. I use that to bring the outside diameter of the stem to a close match to the shank. I run the Dremel at the middle speed to allow me more control of the tip as I take off material. If I run it too fast I find that it takes off too much. Too slow and it leaves a chunky beat up finish that takes a lot of sanding to smooth out. As can be seen from the photos there is not much material that needs to be removed for a smooth fit.
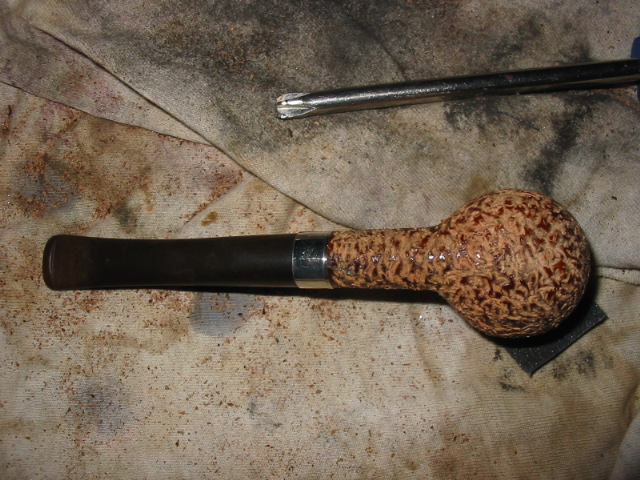
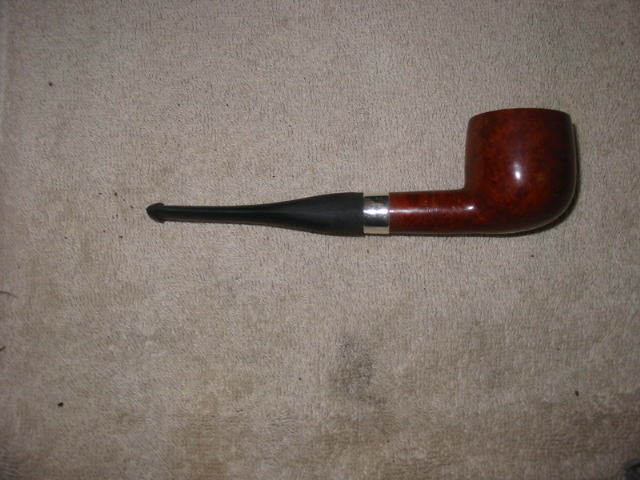
In the photos above I have used the Dremel and removed material to the point that the stem and the shank are almost level. I did it in stages with the stem on the shank and rotating the pipe to keep the perspective round and even. Once I got it to the stage above I move to my table and continue the rest of the work by hand. Sand paper in a variety of grades starting with 180 allows me to work the remainder of the material off and to get the scratches and grooves from the Dremel worked out of the stem.
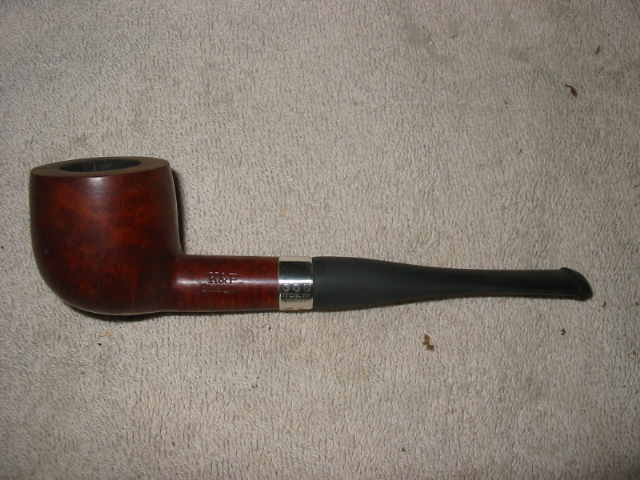
Each of the next seven photos shows the progress of the stem toward the finished product with the different sand papers. Once I have removed the majority of scratches and grooves left by the Dremel with the 180 grit (pictures 1 &2) I move on to using 220 grit and 240 grit to take down more material. Care must be exercised to not scratch the band or the shank. The idea is to leave the shank exactly like it was without scratches or marks (pictures 3,4,5).


Pictures 6, 7 & 8 show the stem after using 1600 grit wet dry sandpaper. Each sanding step removes more material and evens the flow of the stem to shank. It also removes scratches and prepares the stem for the finish sanding.


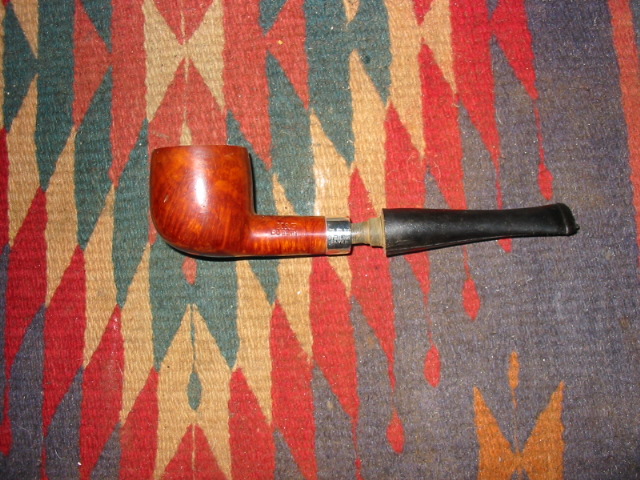
The last four pictures show the pipe after sanding with micromesh pads – 1800, 2400 and 4000 grit. Generally each of the pads progressively polishes the stem. Any places that still show scratches send the stem back to the 600 wet dry sanding or even further depending on the depth of the scratches. When the polish is clean and smooth I take the stems to my buffer and buff with white diamond that raises a deep reflective finish on the stems.